
After being shown the first RWBY
trailer earlier back in 2012, I have just been transfixed with the art style
and creative direction, the new IP being produced by Roosterteeth
seems to be headed. One of the many things that’s got me invested are the crazy
weapon designs, and after seeing Crescent Rose in action, I was asked by a close friend to help make to make one.

So to start off with I bought a heavy duty outdoor garden broom, which will act as the base frame and support skeleton of the entirte scythe.
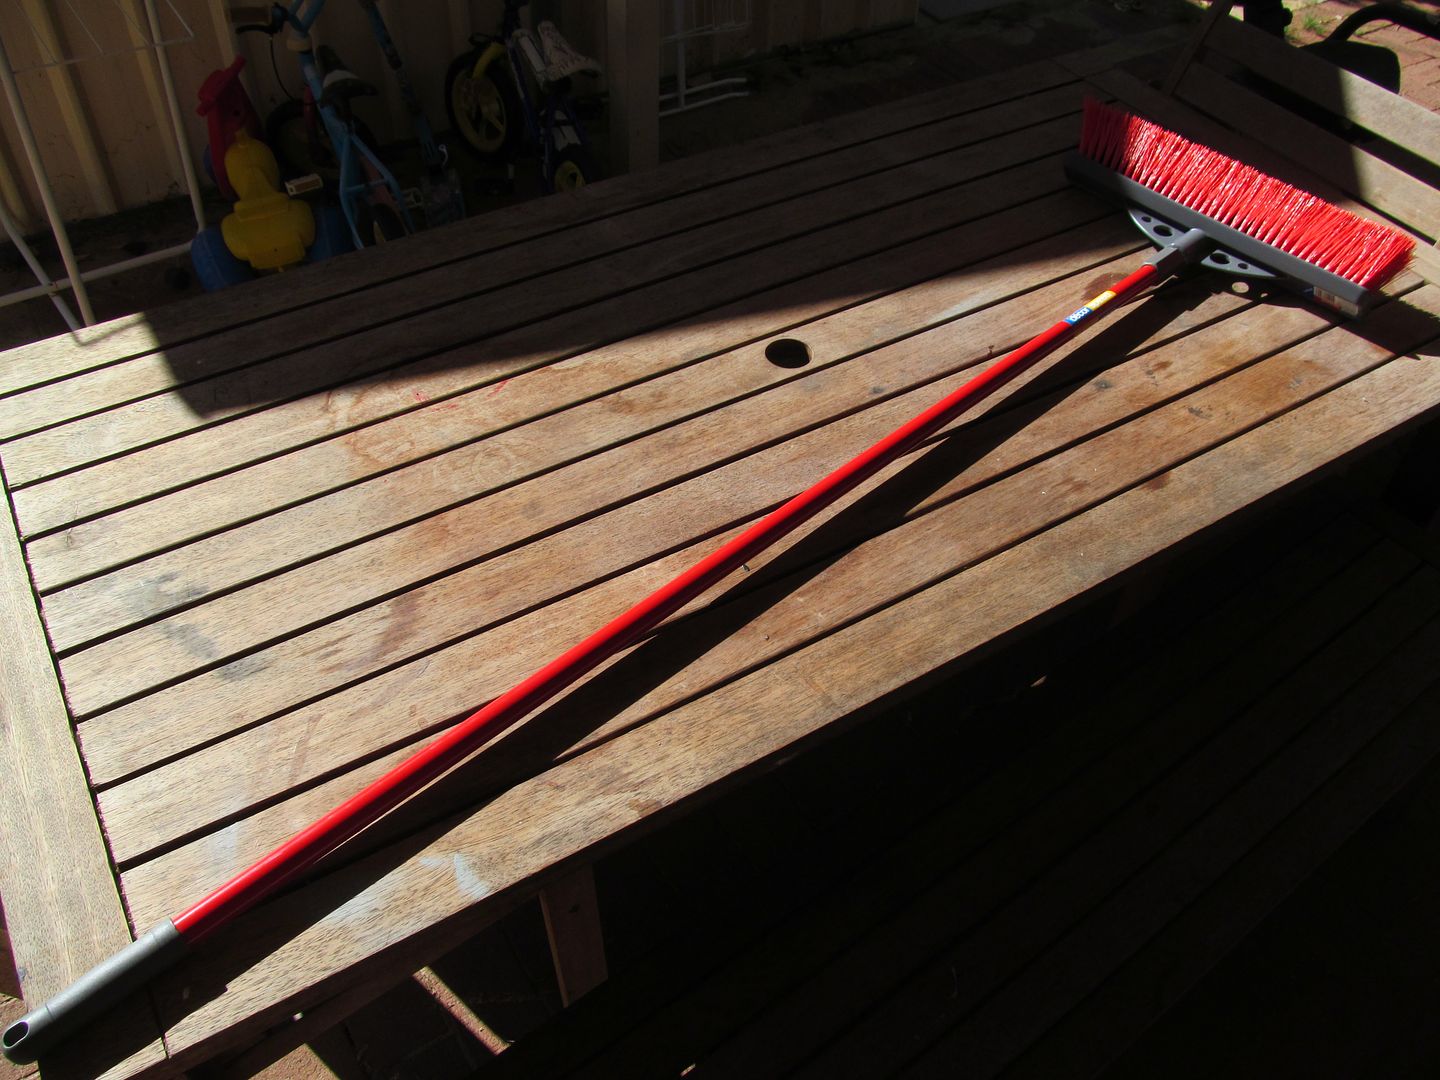
What’s particularly great about using this particular model
of broom is that it comes premade with a screw detectable head, meaning I’ll be
able to detach the scythe head and the handle later down the line making
transportation much easier.

Separating the broom head from the handle, I started to trim down the bristles with some scisccors.
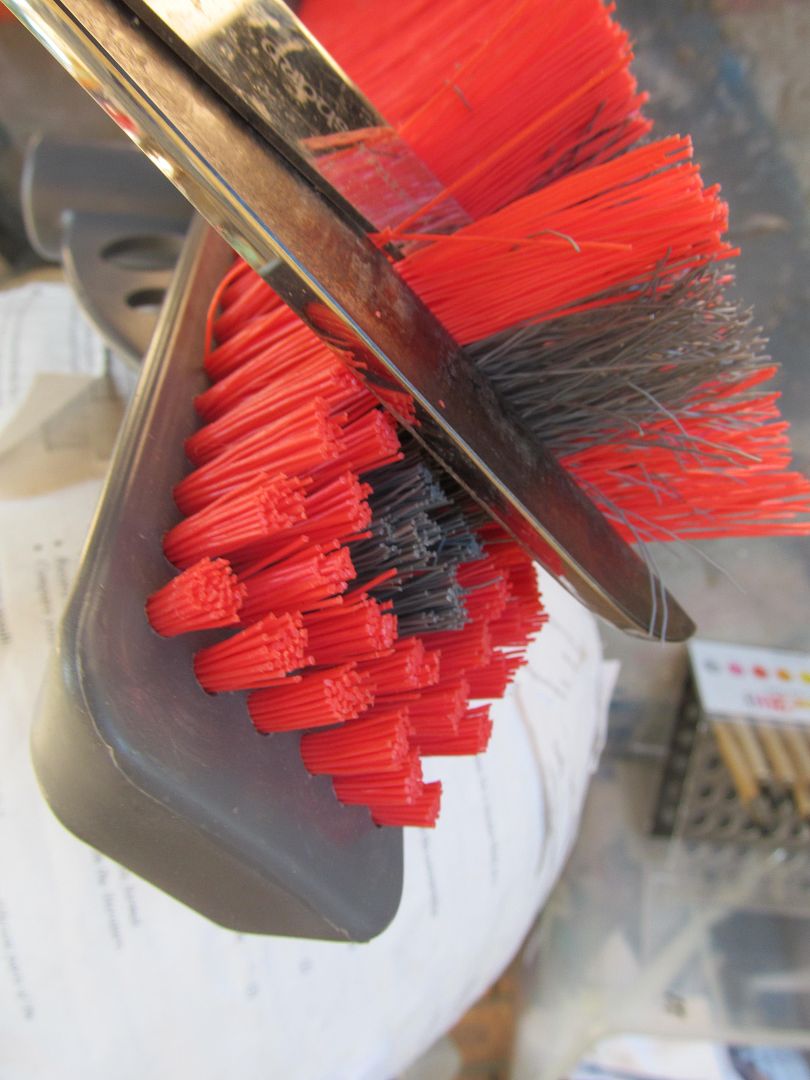
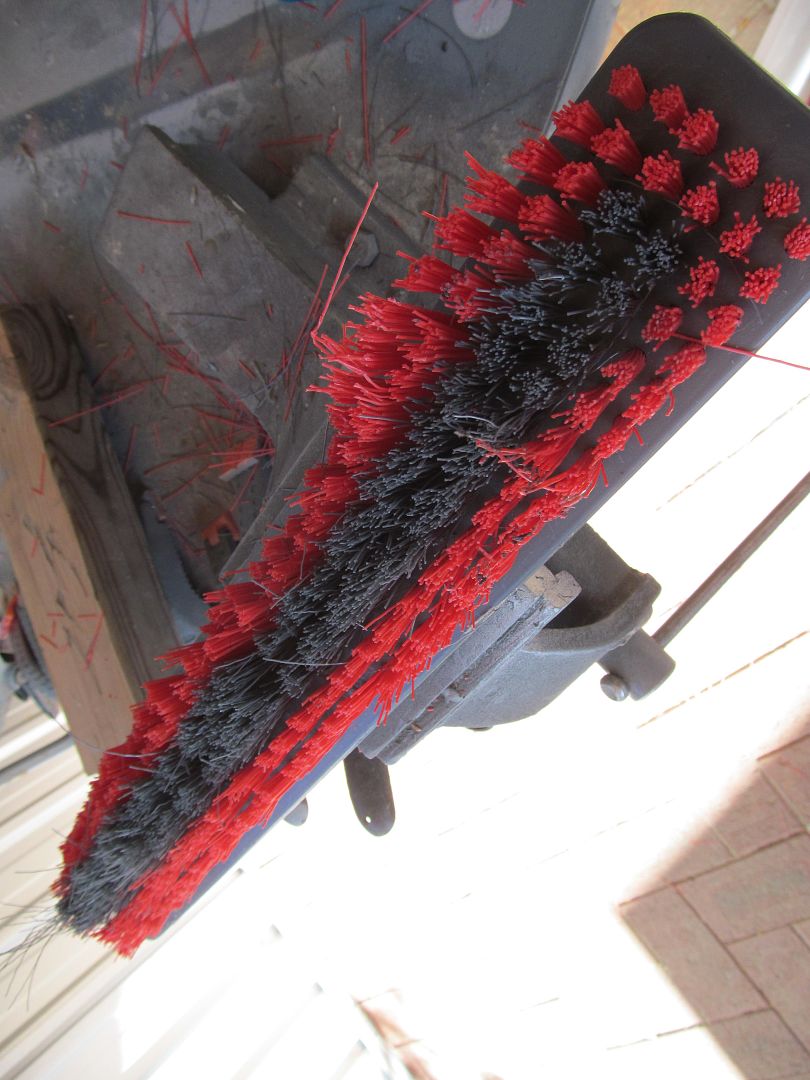
Then yanked them out with a pair of pliers with relative
ease.
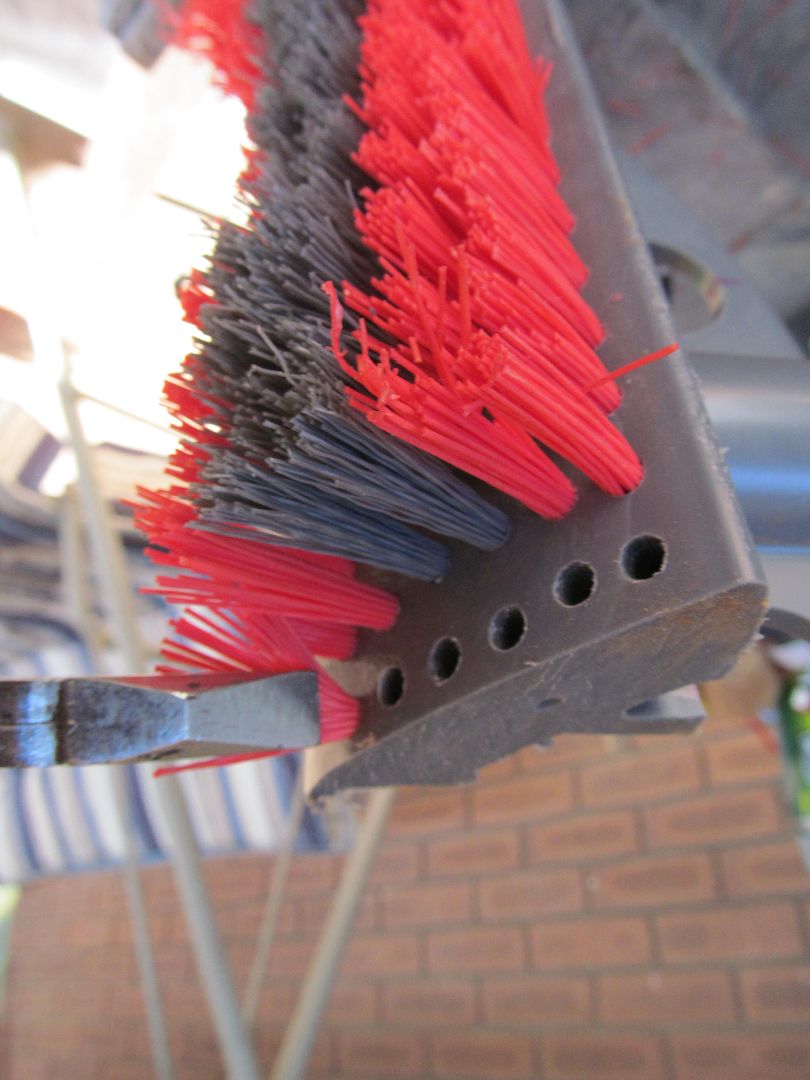

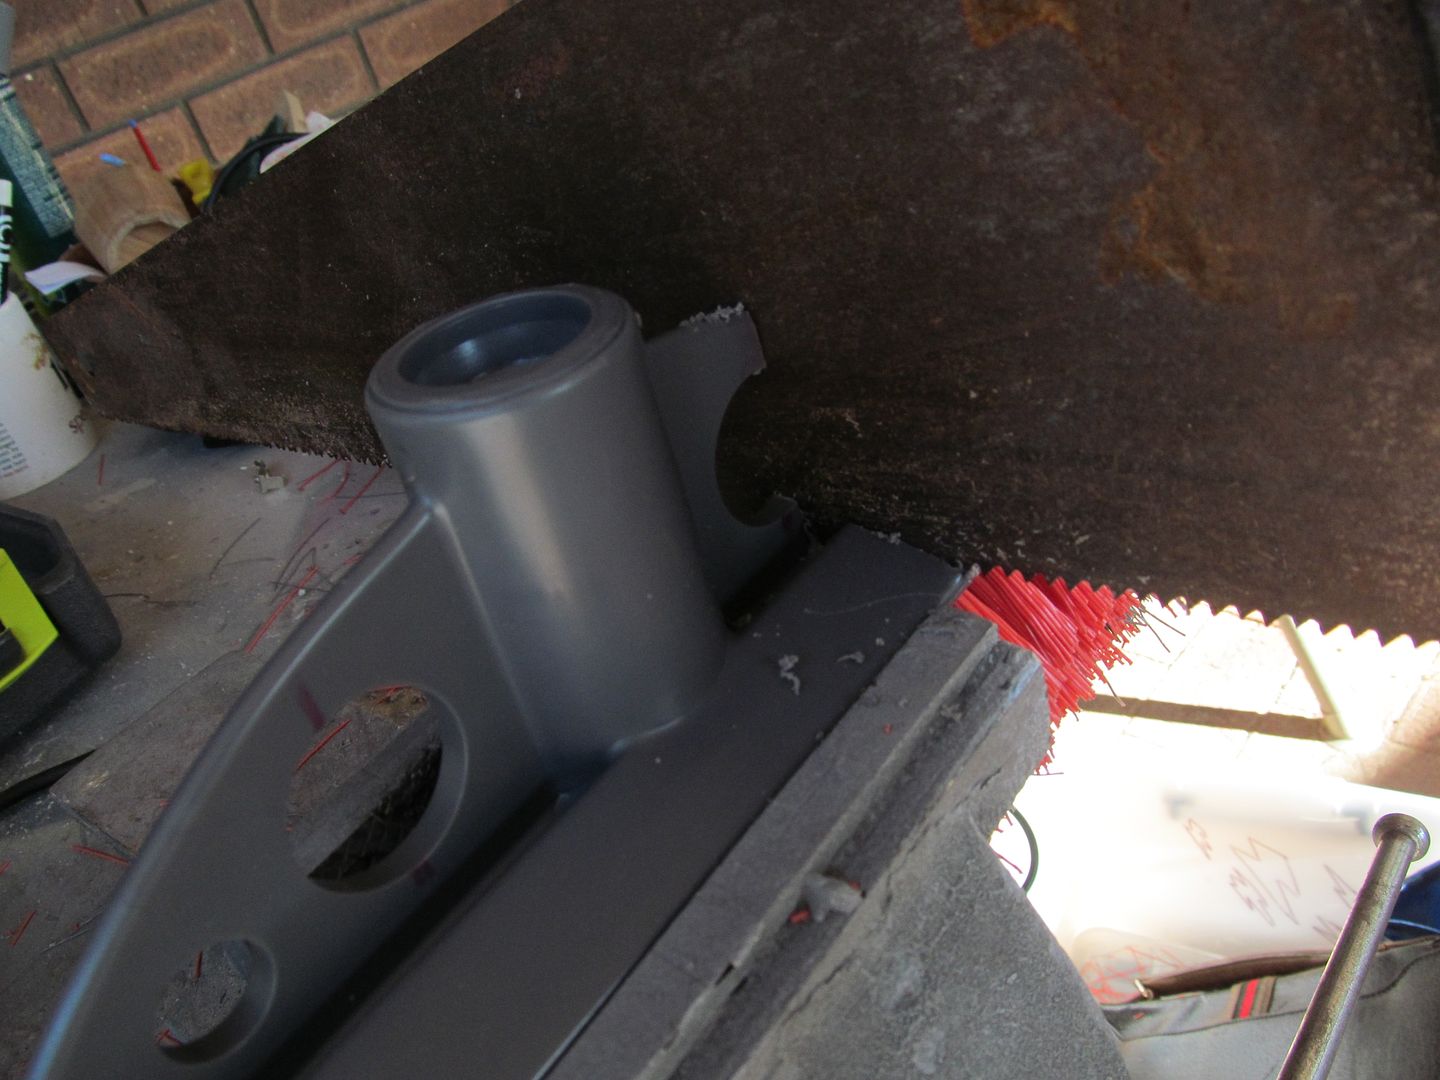
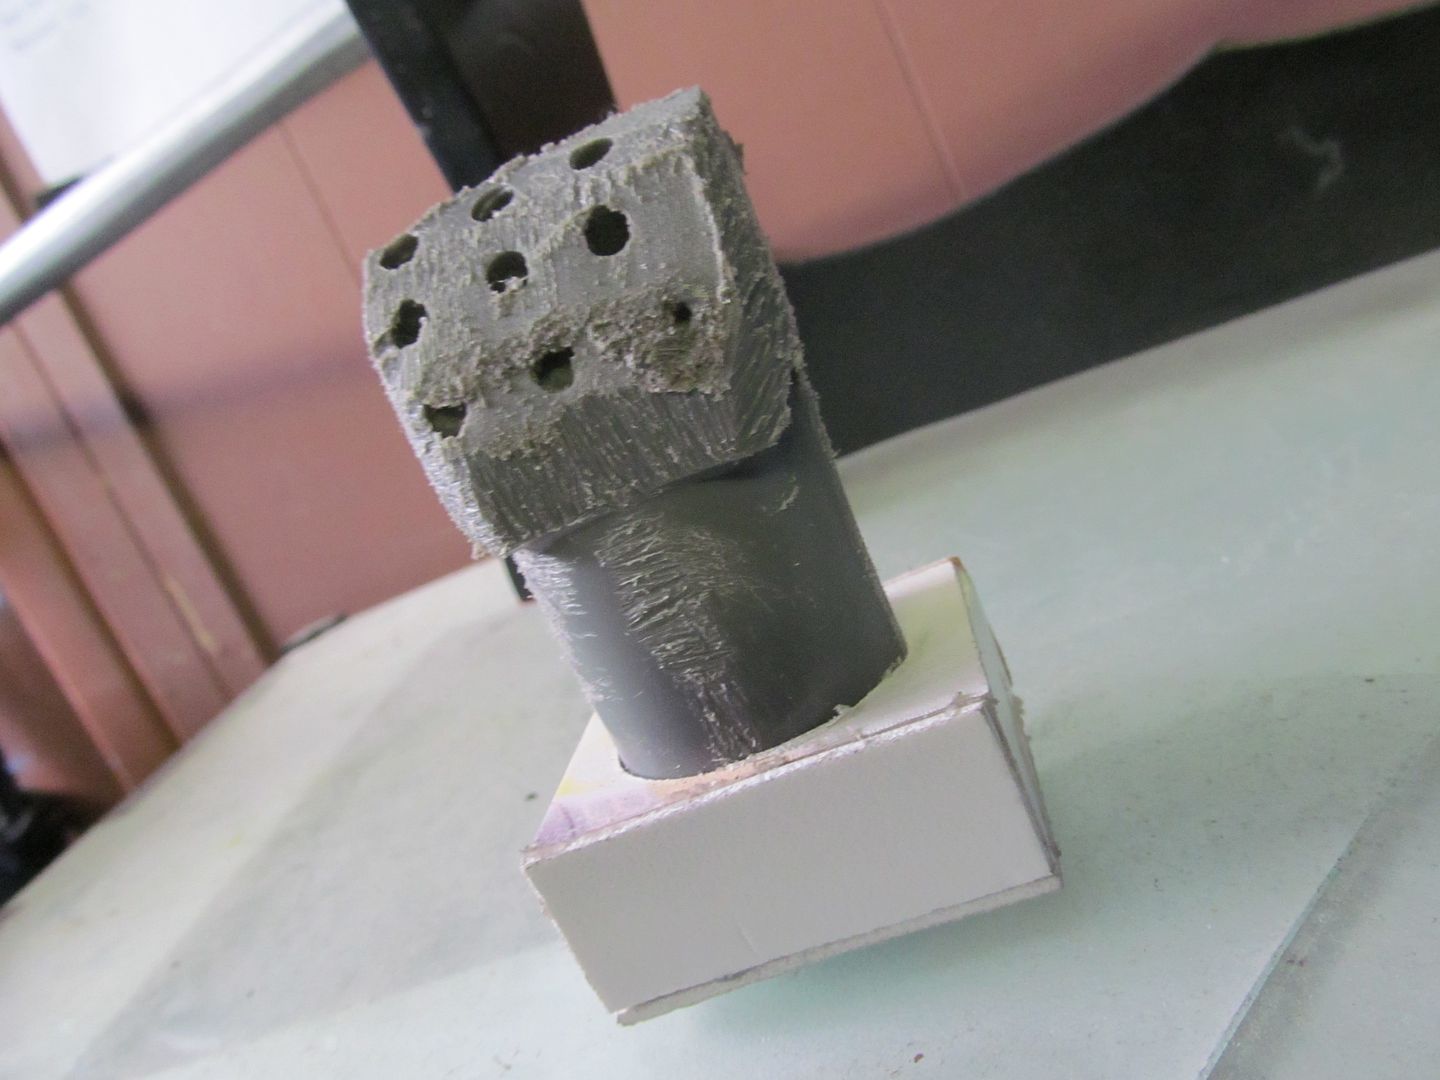
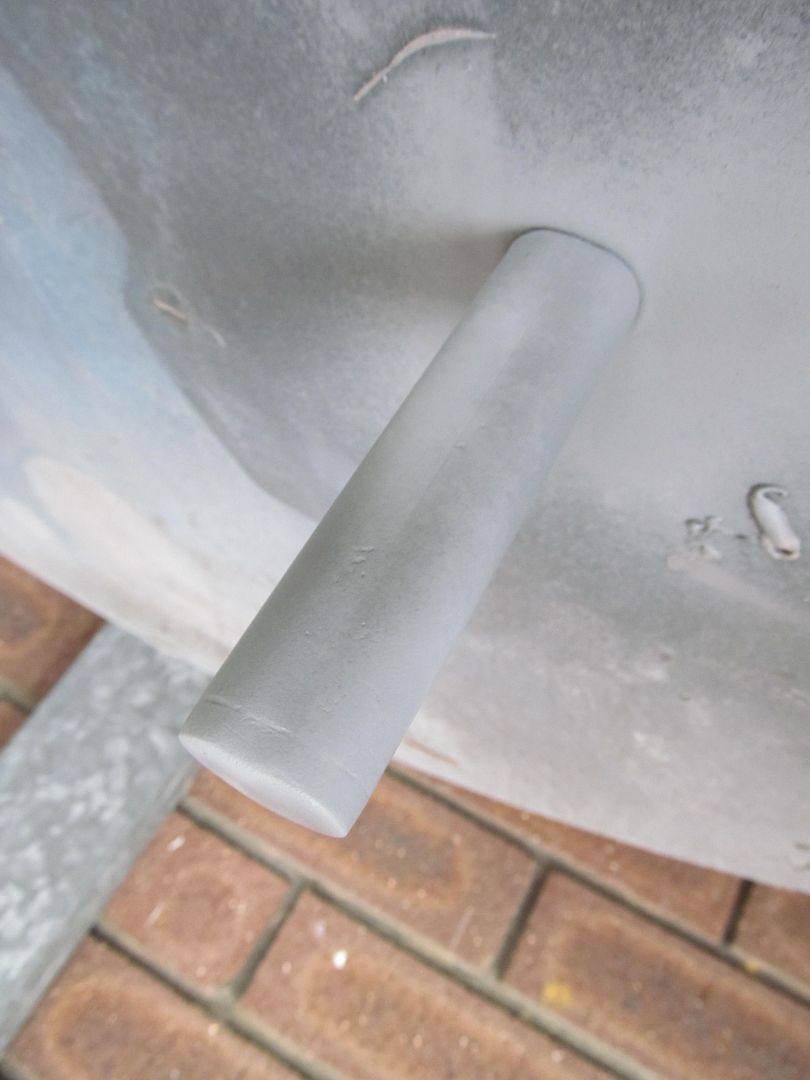
Afterwhich I then sawed, sanded and grinded away
all the unwanted parts of the broom head until only the vital screw
thread nub remained.

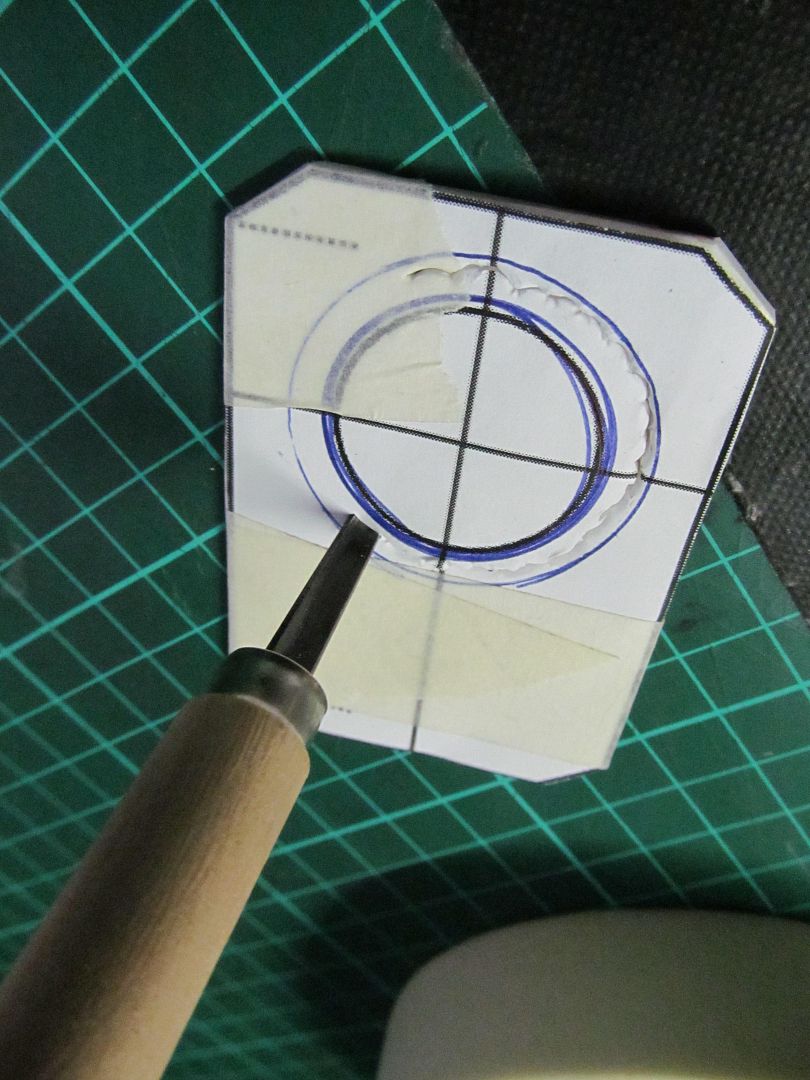
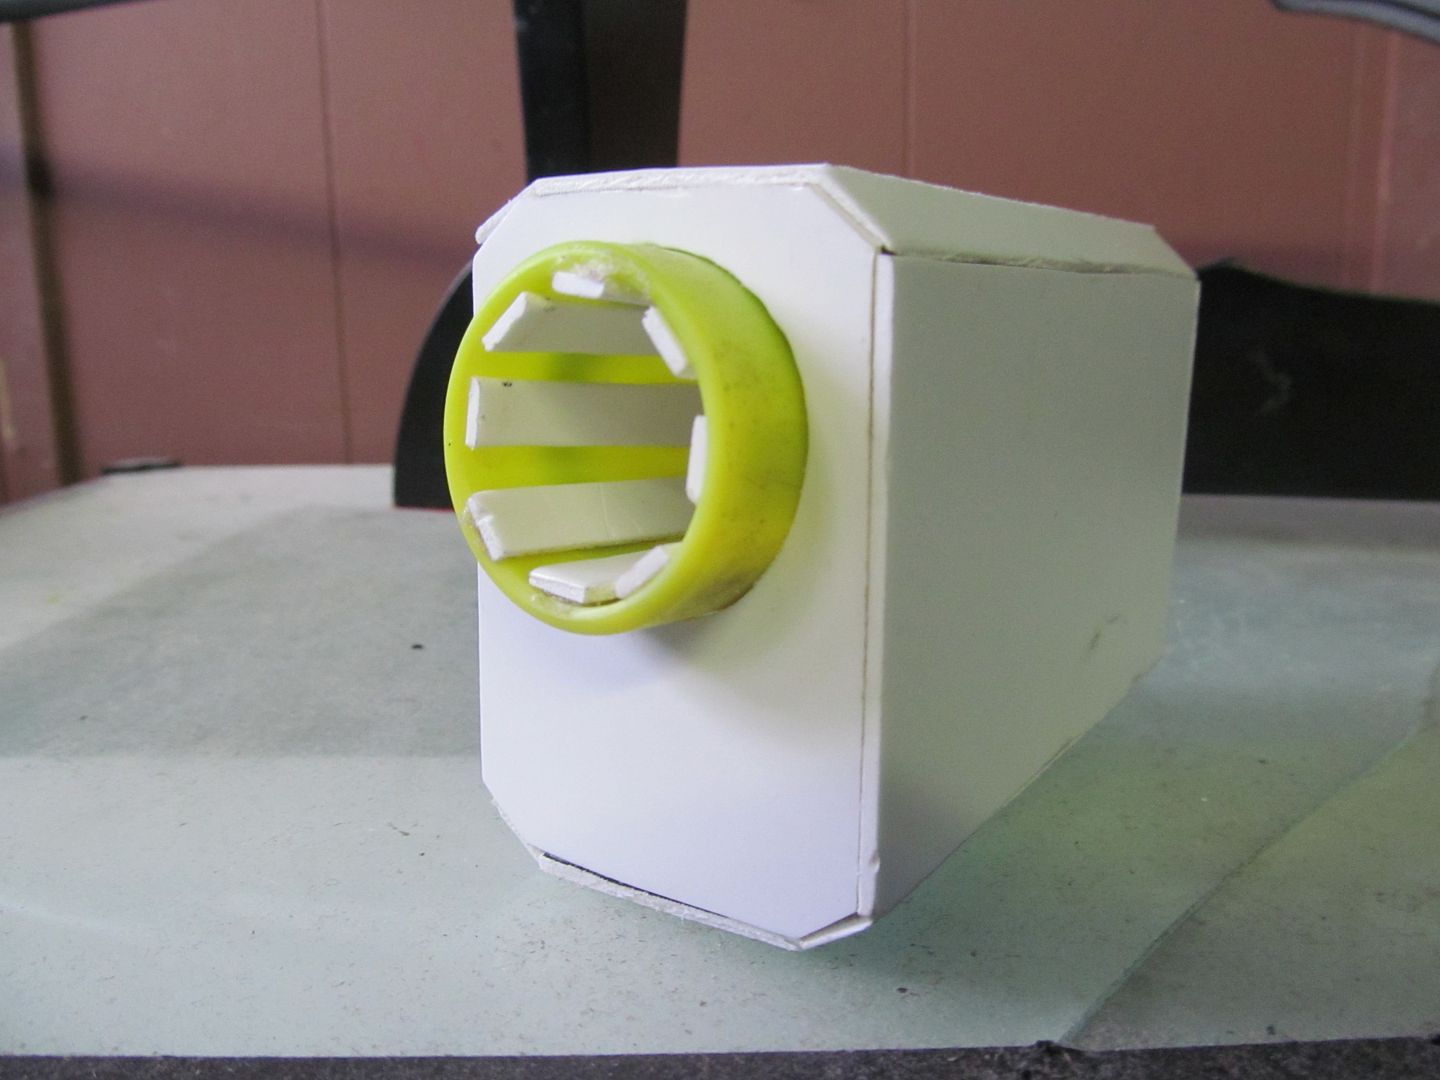
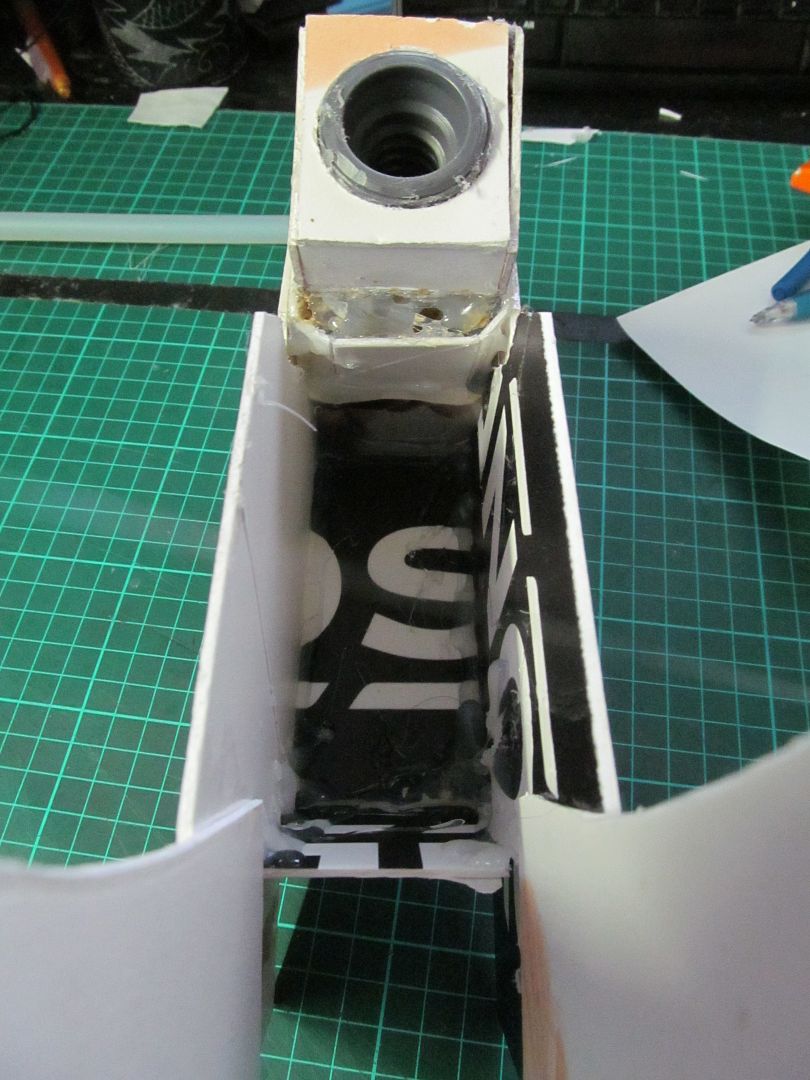
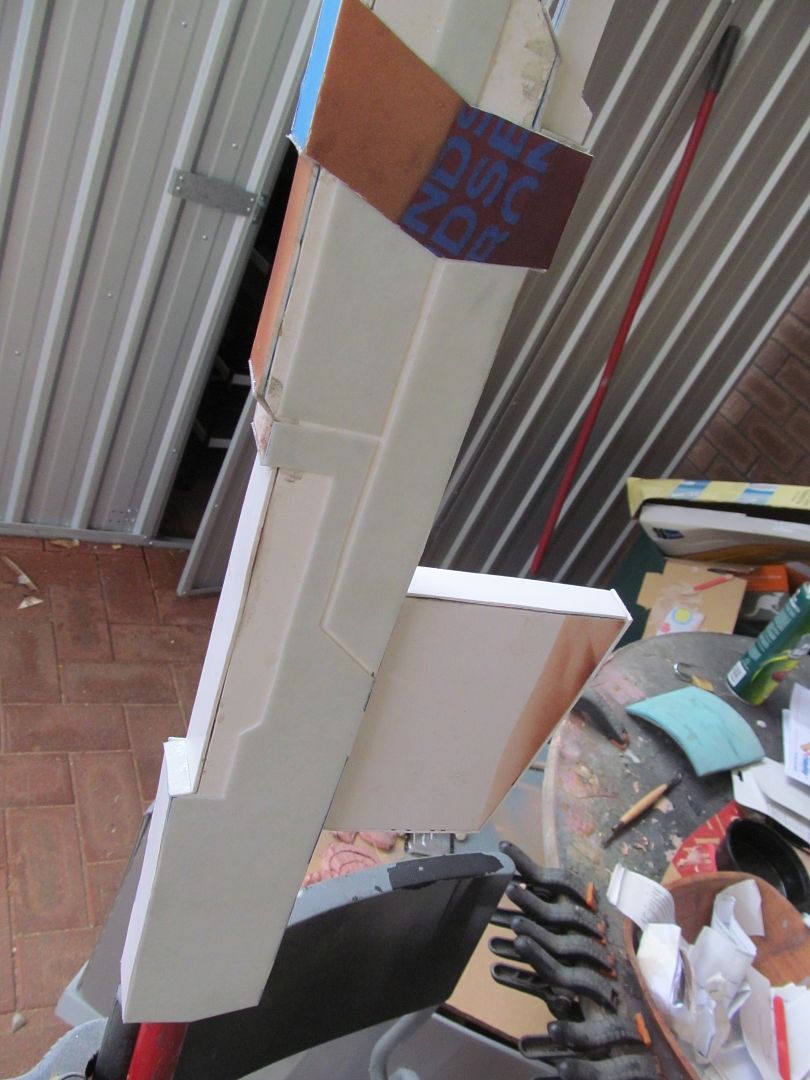
With the plastic nub shaped which will act as the focal point of the entire scythe head; I needed to build the gunbarrel of the scythe that would go around it, this was done mainly with PVC sheeting (Sintra) I had lying around, which I cut out and assembled togther with hotglue.

In regards to cutting out the holes to make the clearance
fit to accommodate the nub, I found that wood carving tools were very useful
to start off with, then cleaning up the edges with a hand file.

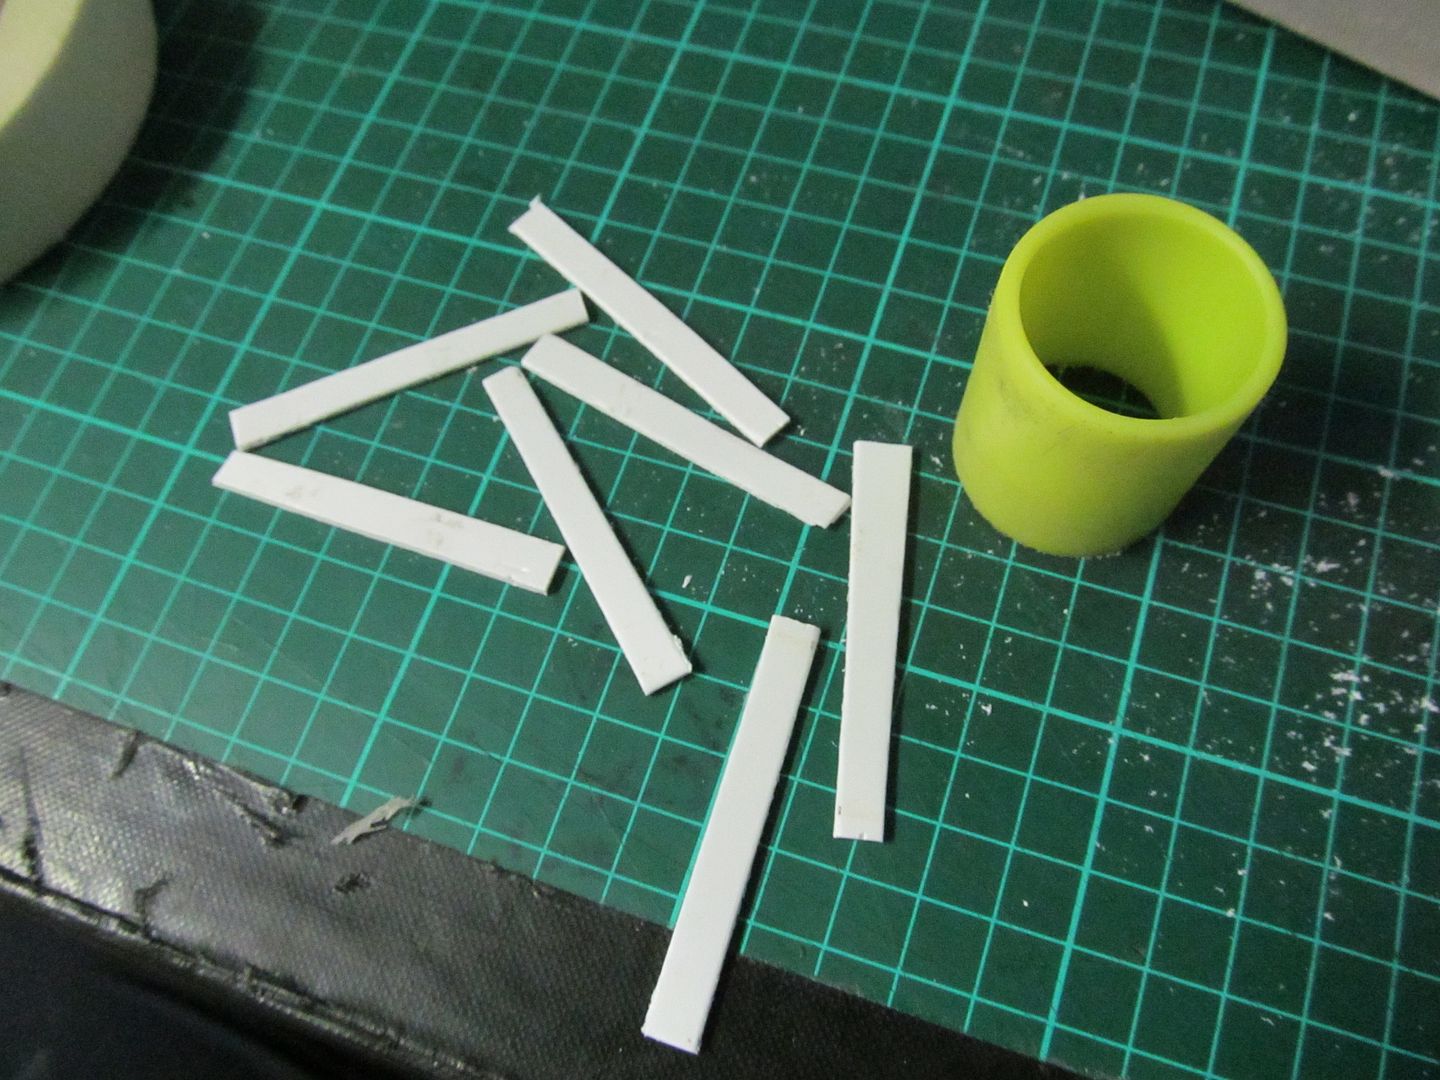
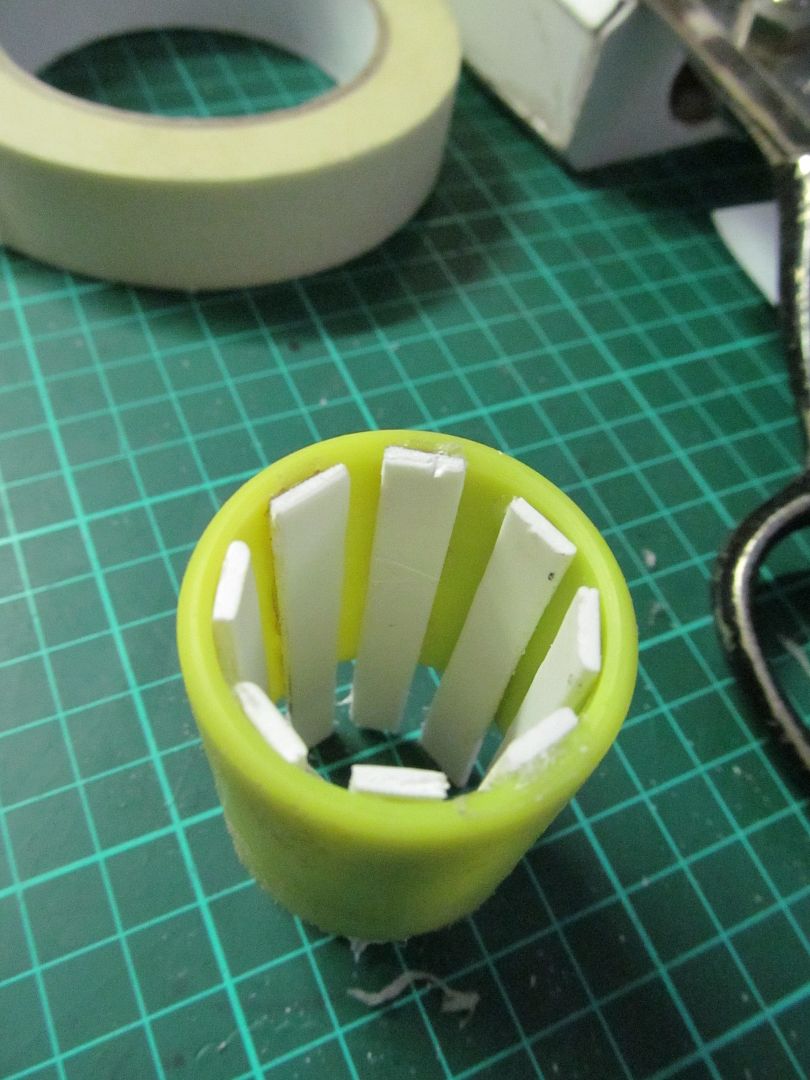
For the muzzle that slots down the top, that was done with a hacksawed piece of PVC piping which then had thin rectangular strips hot glued along the inside to simulate gun barrel splines.


Putting the walls on
the lower and upper half of the gun barrel everything was assembled on top of
and glued around the plastic nub.
With that out of the way, I then proceeded to work on
the back half of the scythe head, which involved layering PVC sheets together
Getting the crux of this build; whenever I've made props in the past
that have had open cavities I always found that they prop will experience some
degree of bending and flimsiness just from general use. Though very
lightweight they are very prone to breaking should they be hit against
something or be used for anything other than photography.
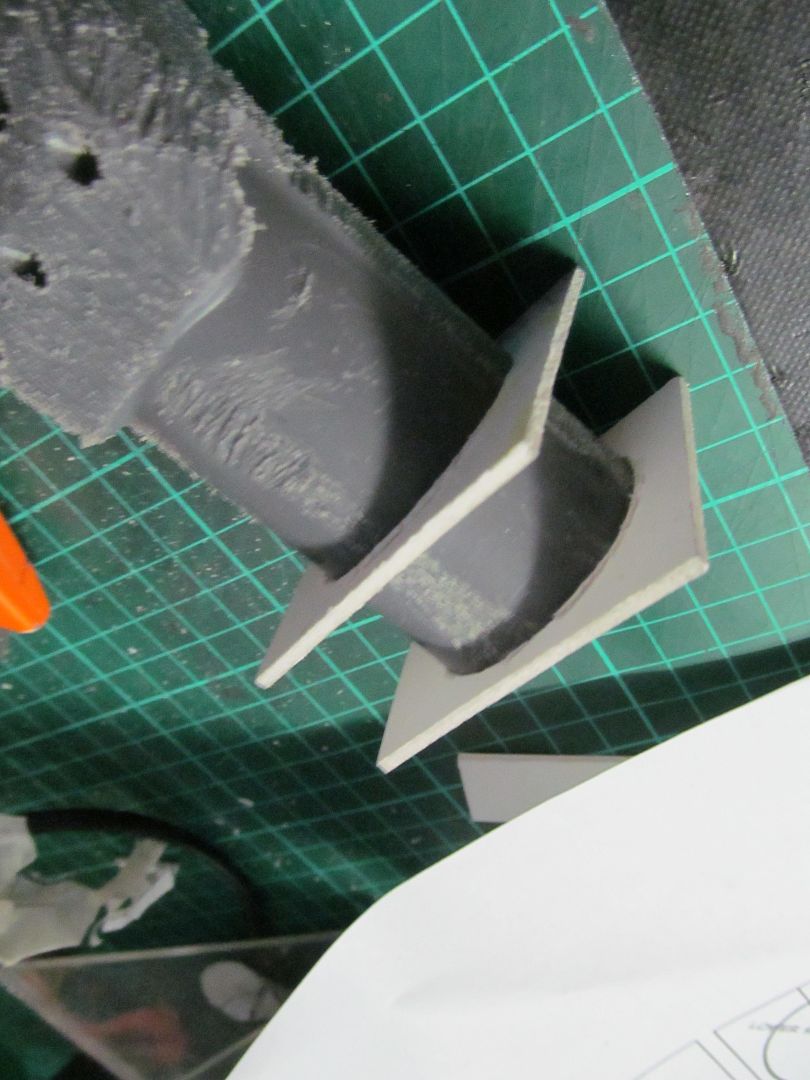
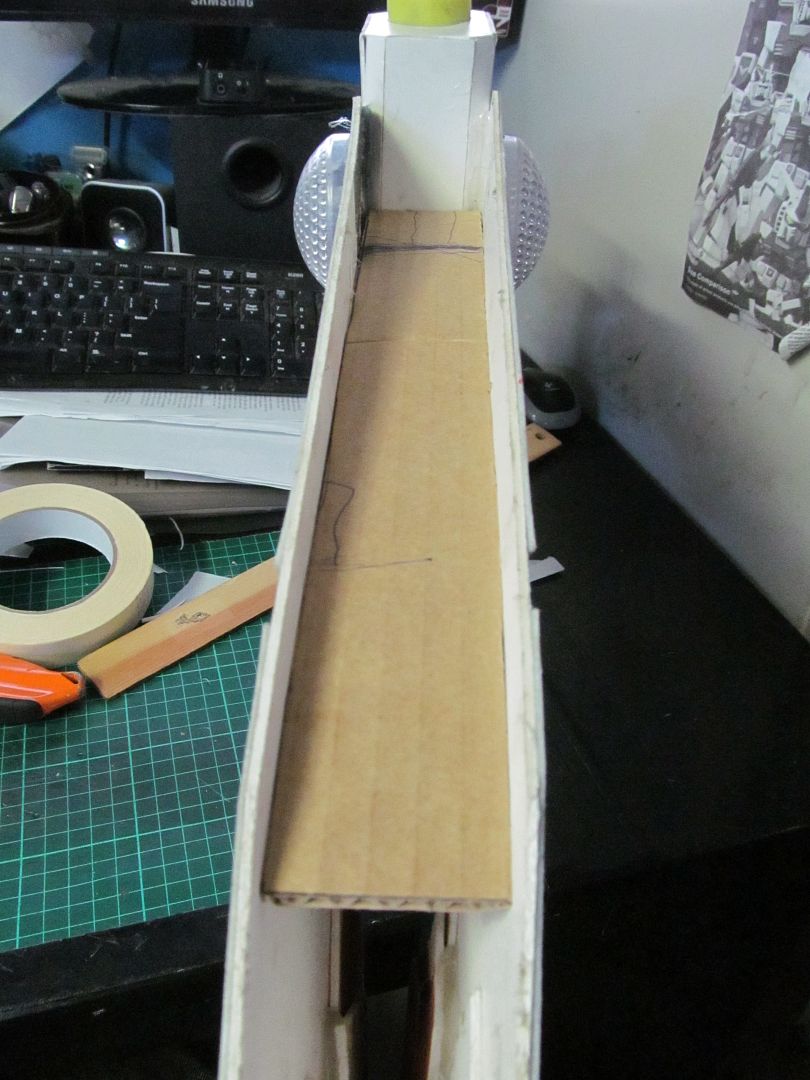
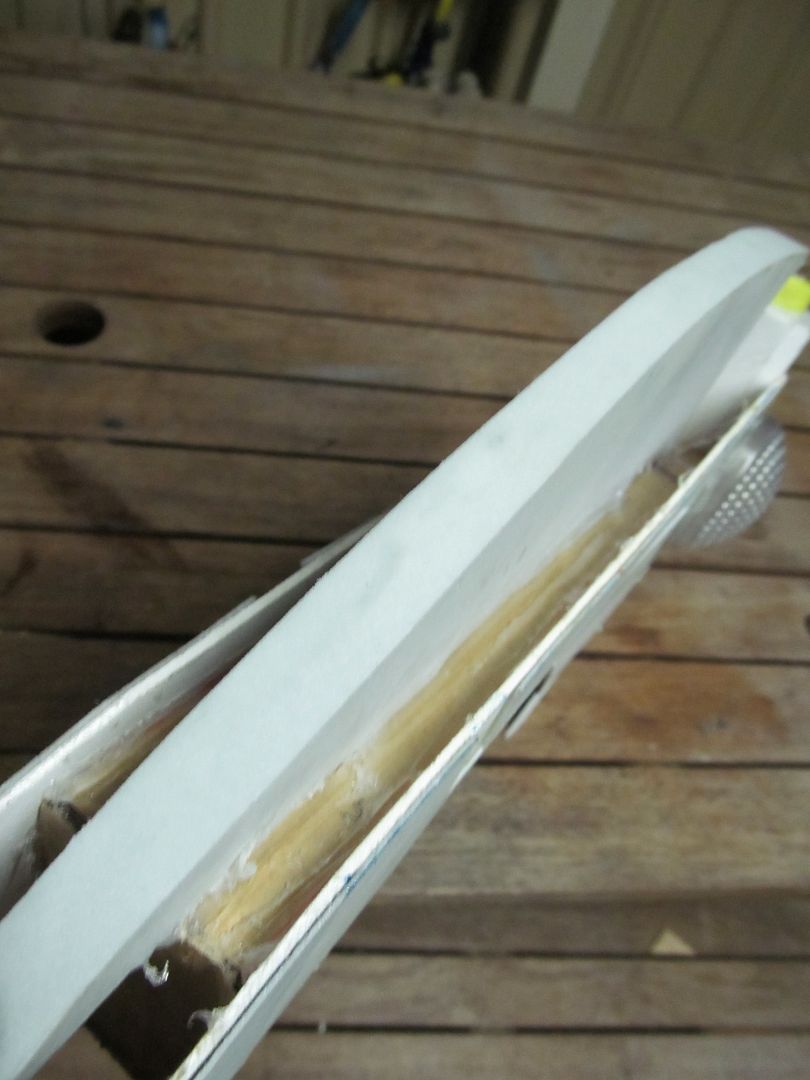
A way I am starting to become a fan of to overcome this is taken from IKEA furniture design philosophy, which is to hot glue cardboard fins across the span of these cavities such that they can also be sealed up later and hidden from view.
A way I am starting to become a fan of to overcome this is taken from IKEA furniture design philosophy, which is to hot glue cardboard fins across the span of these cavities such that they can also be sealed up later and hidden from view.
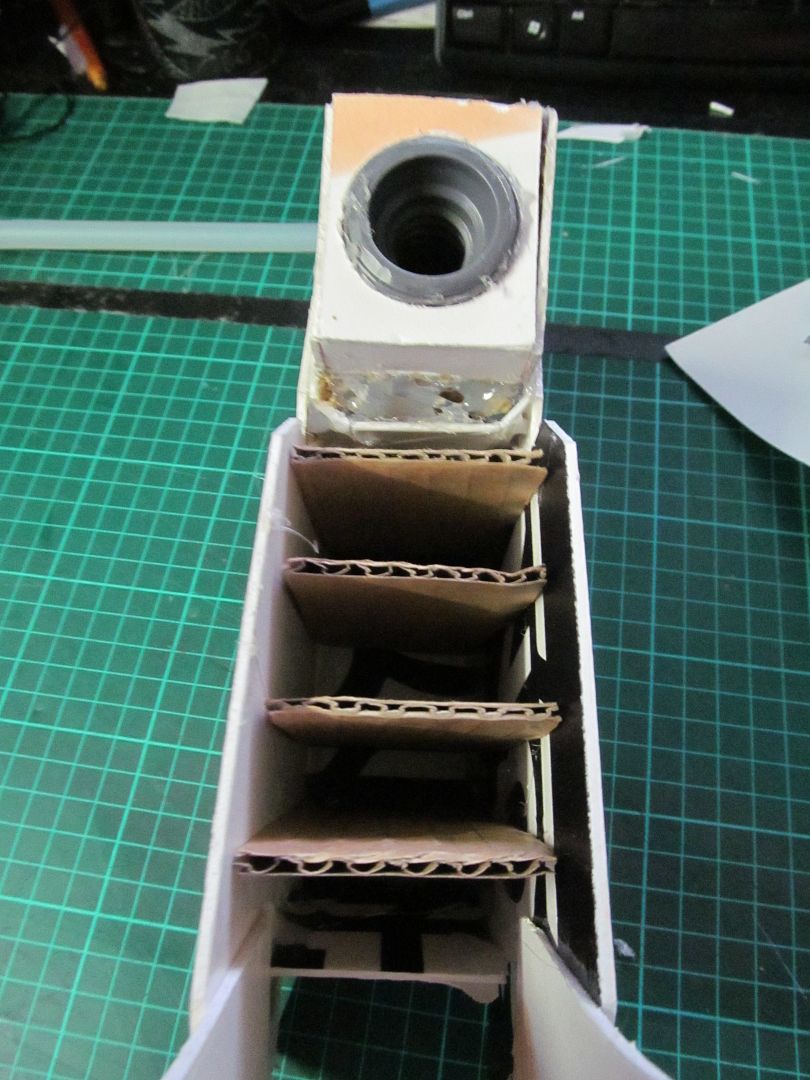
Trust me there will be an immediate and noticeable improvement in strength just by putting in a sufficient number of fins which will drastically prolong the life and functionality of a prop and still keep the weight down.
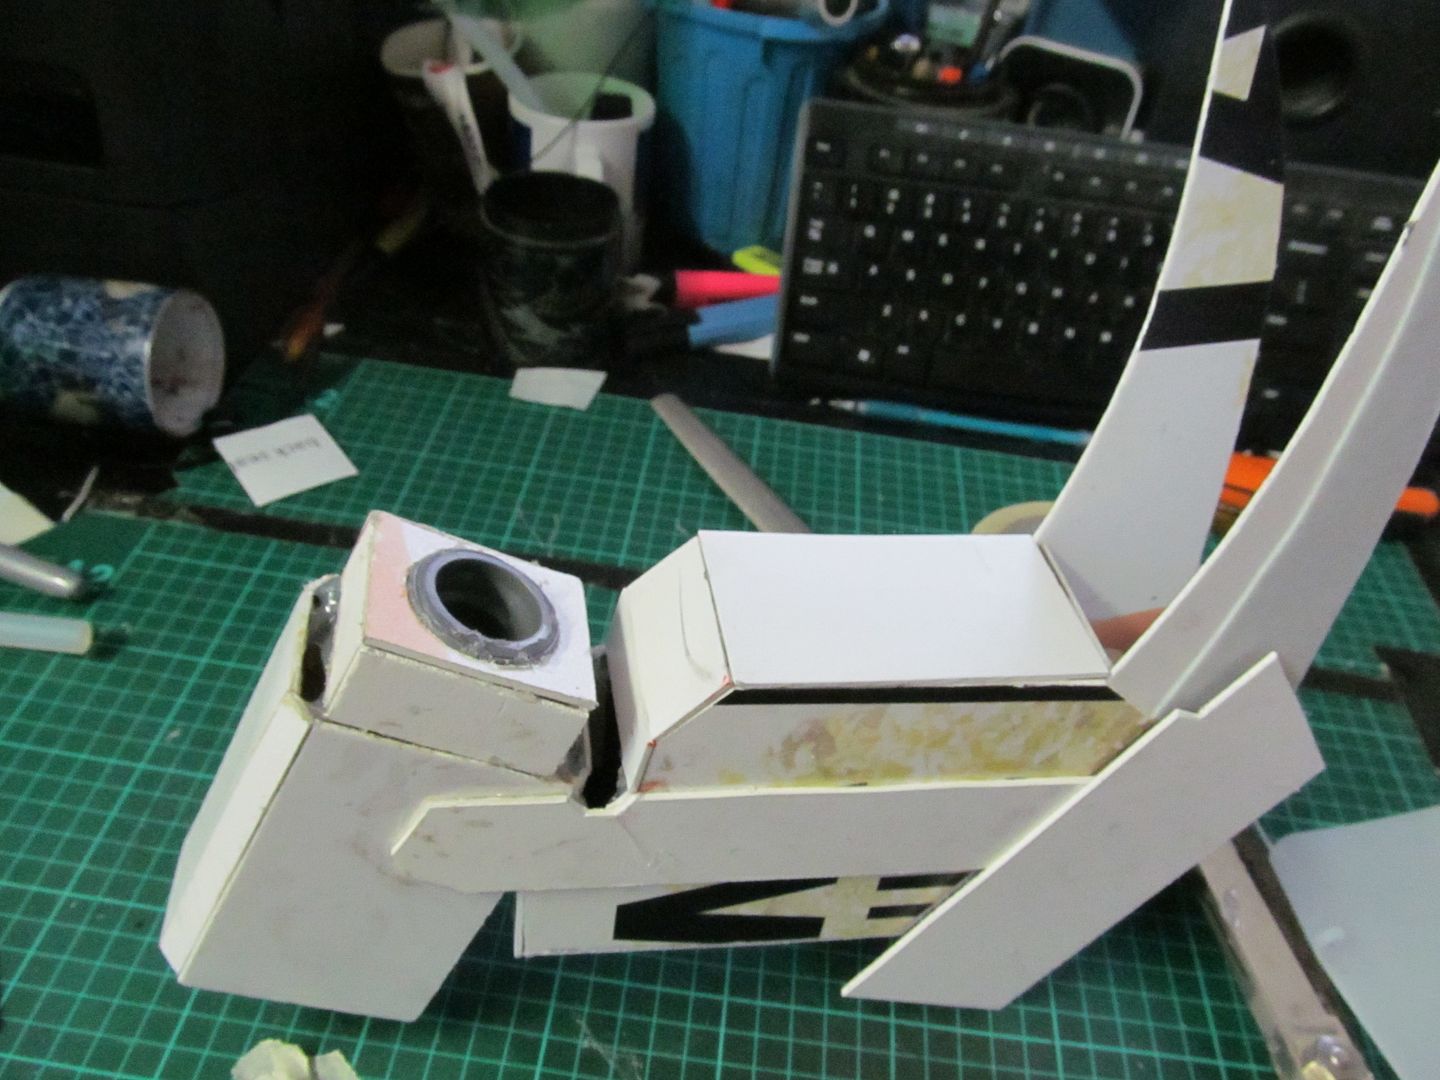
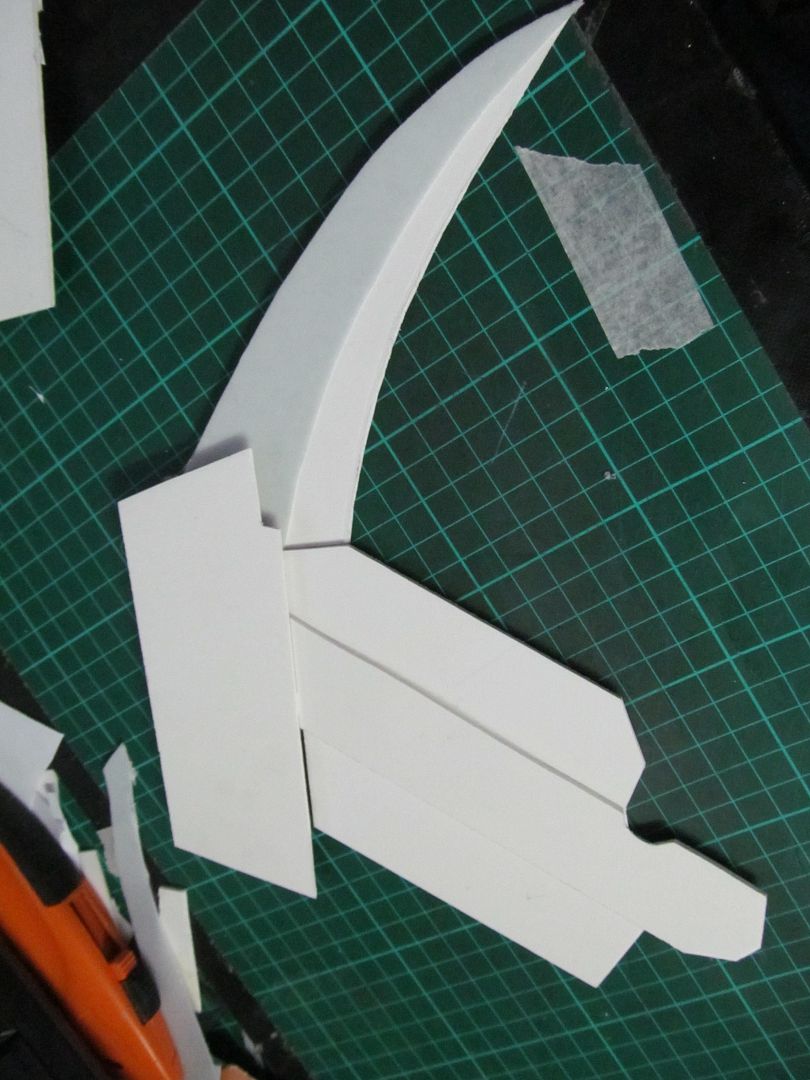
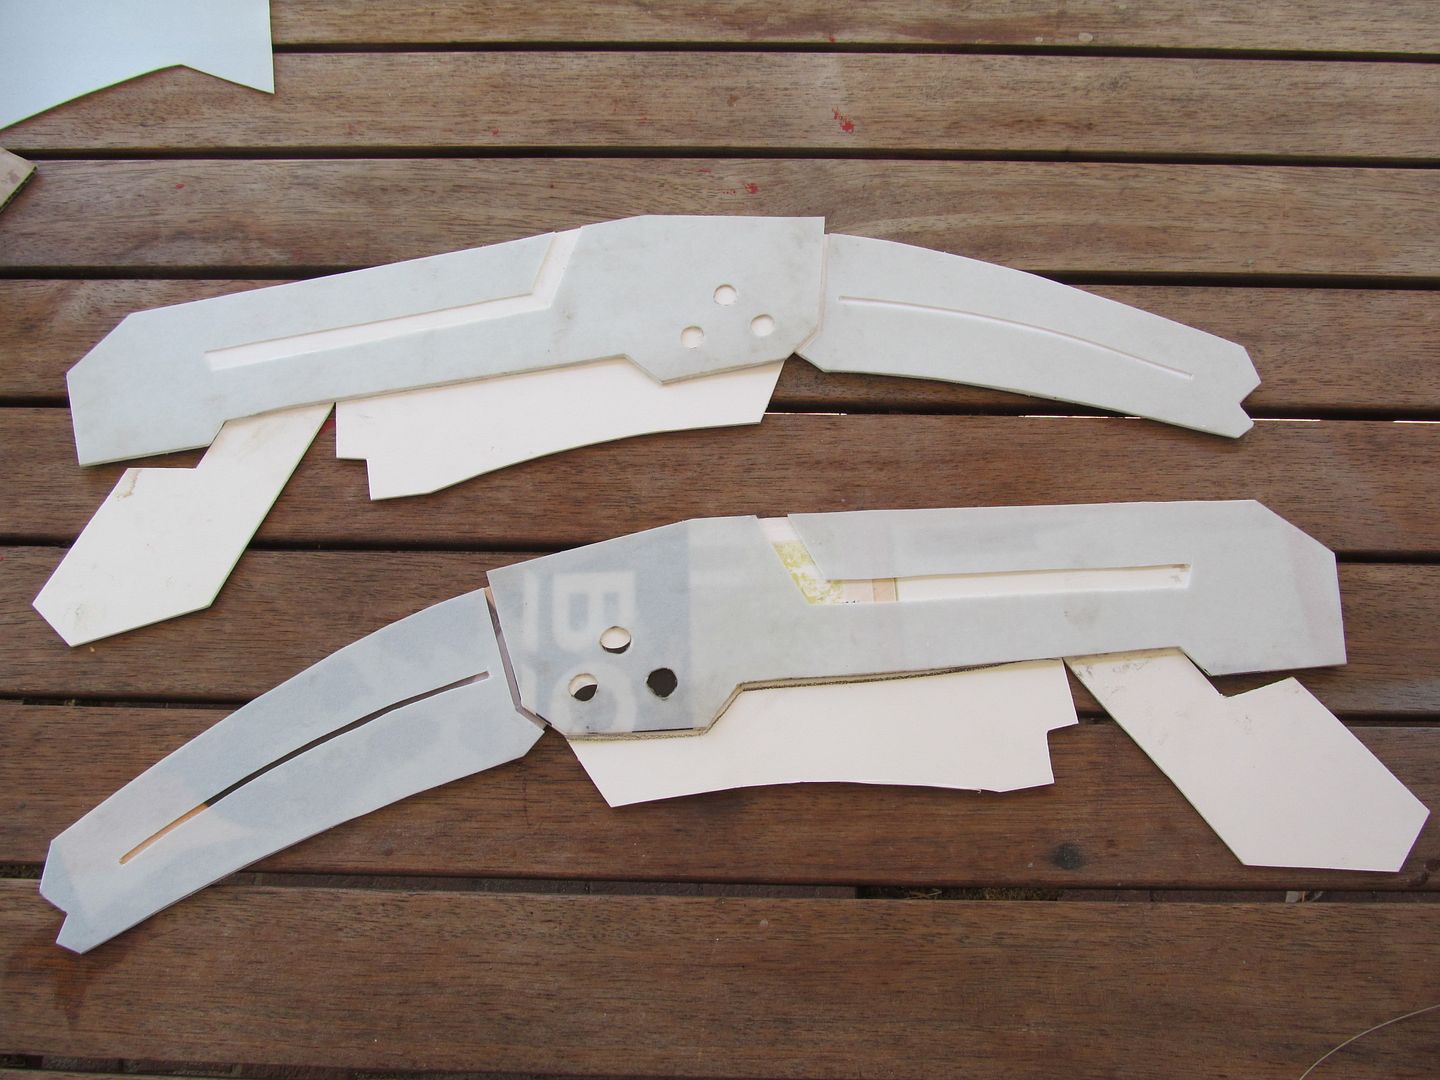
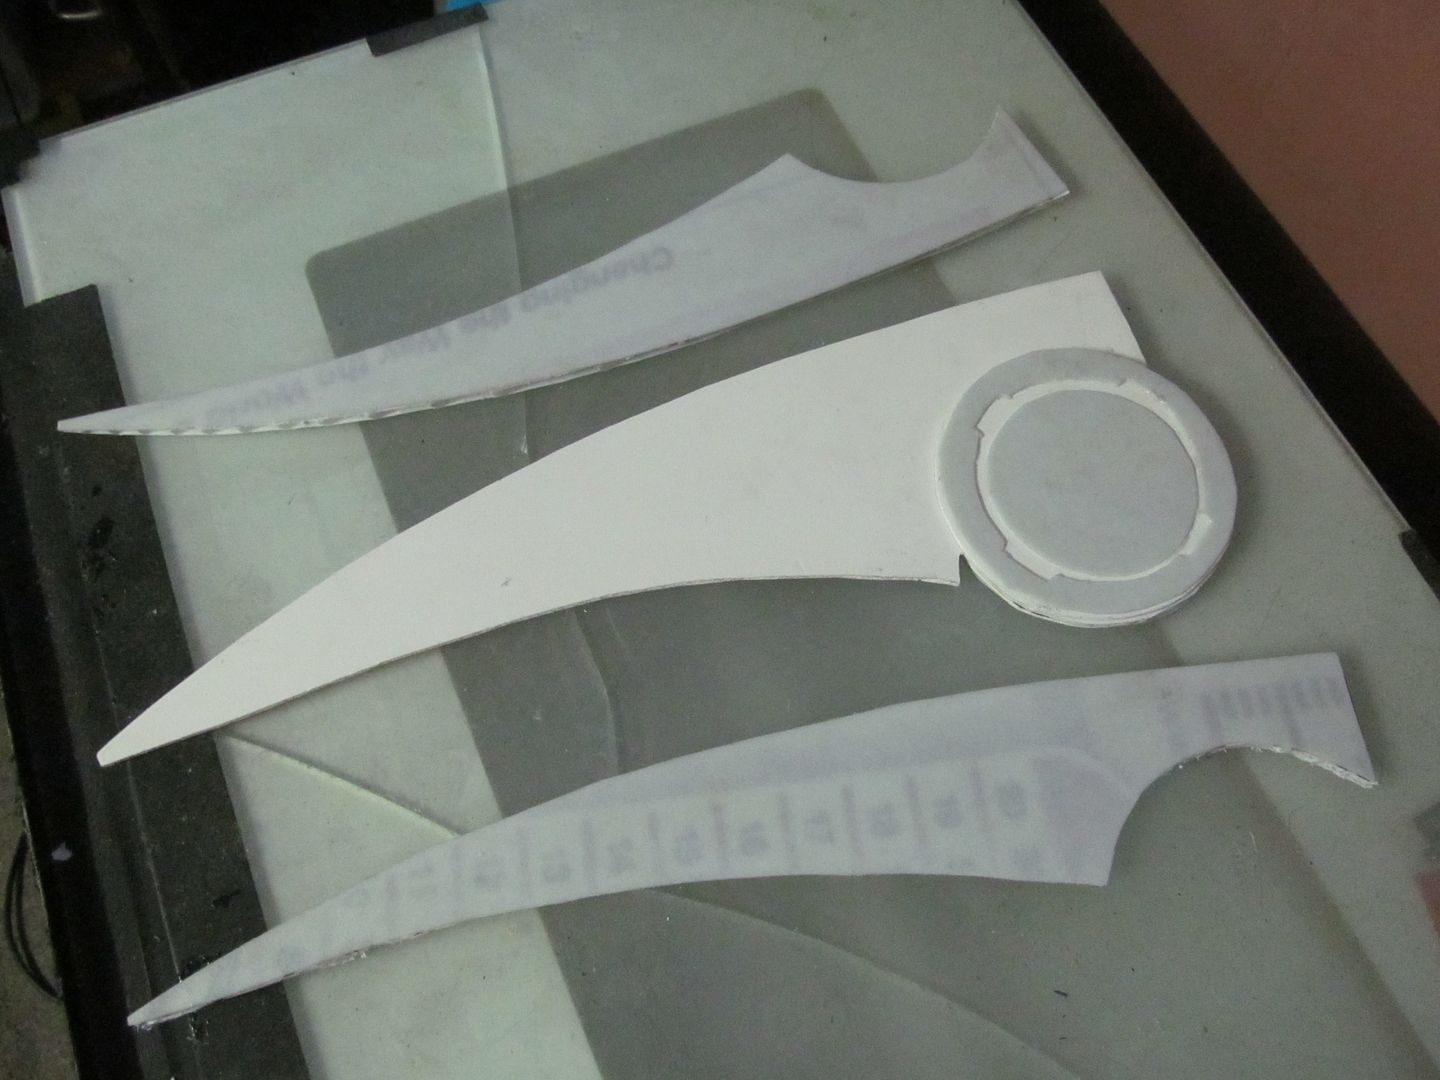
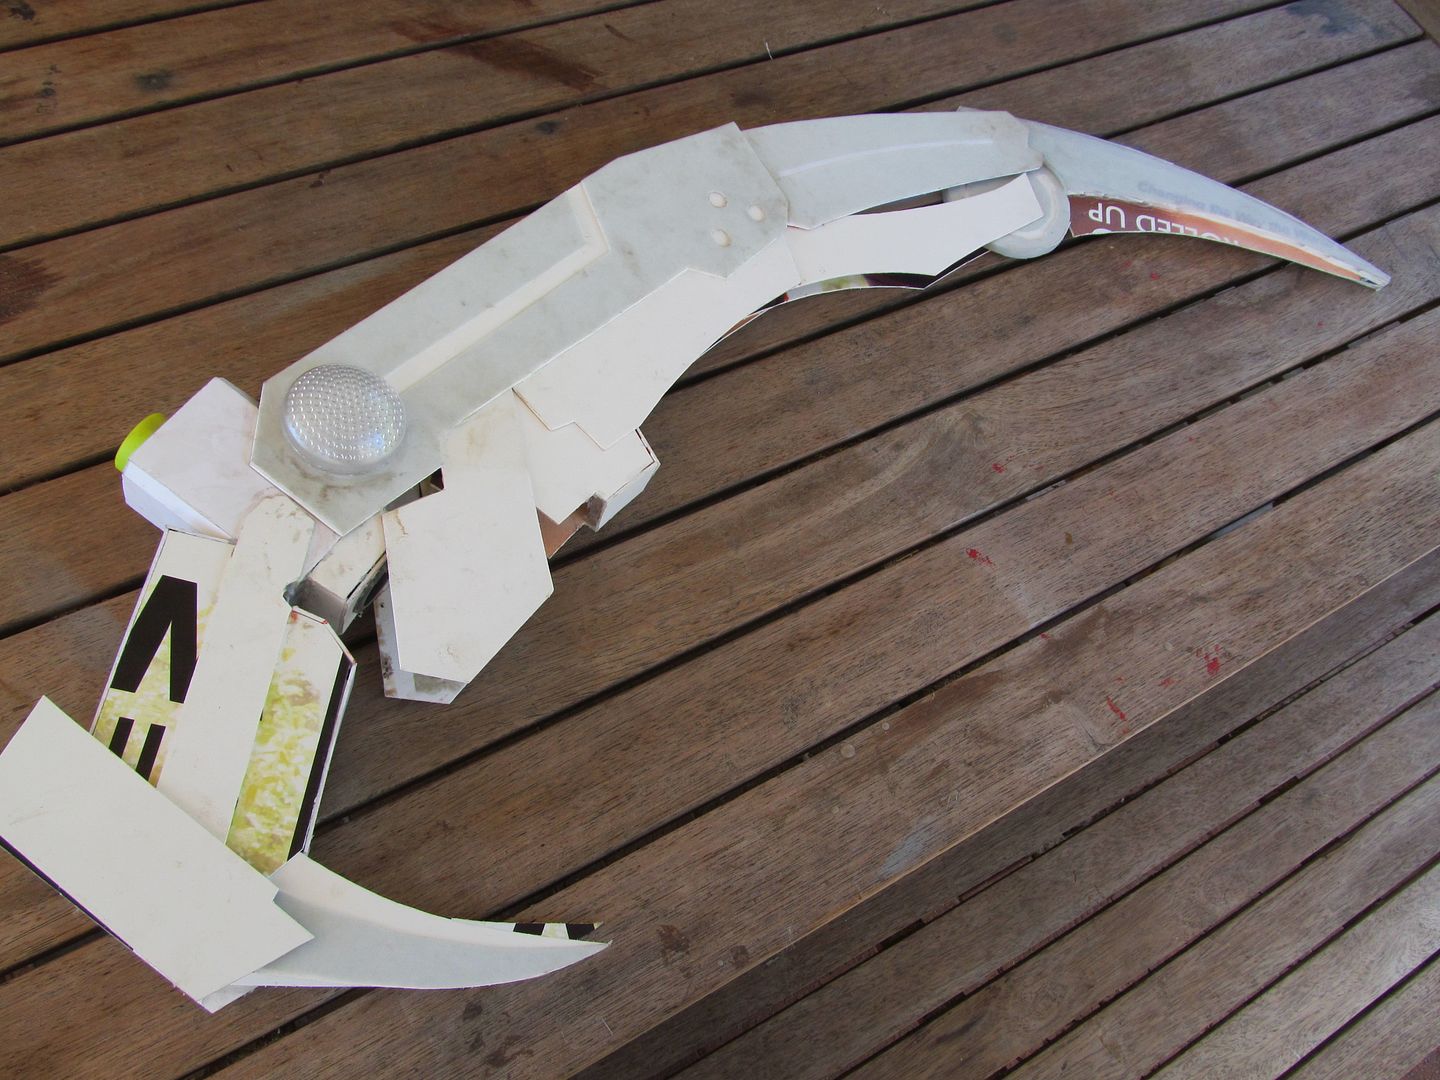
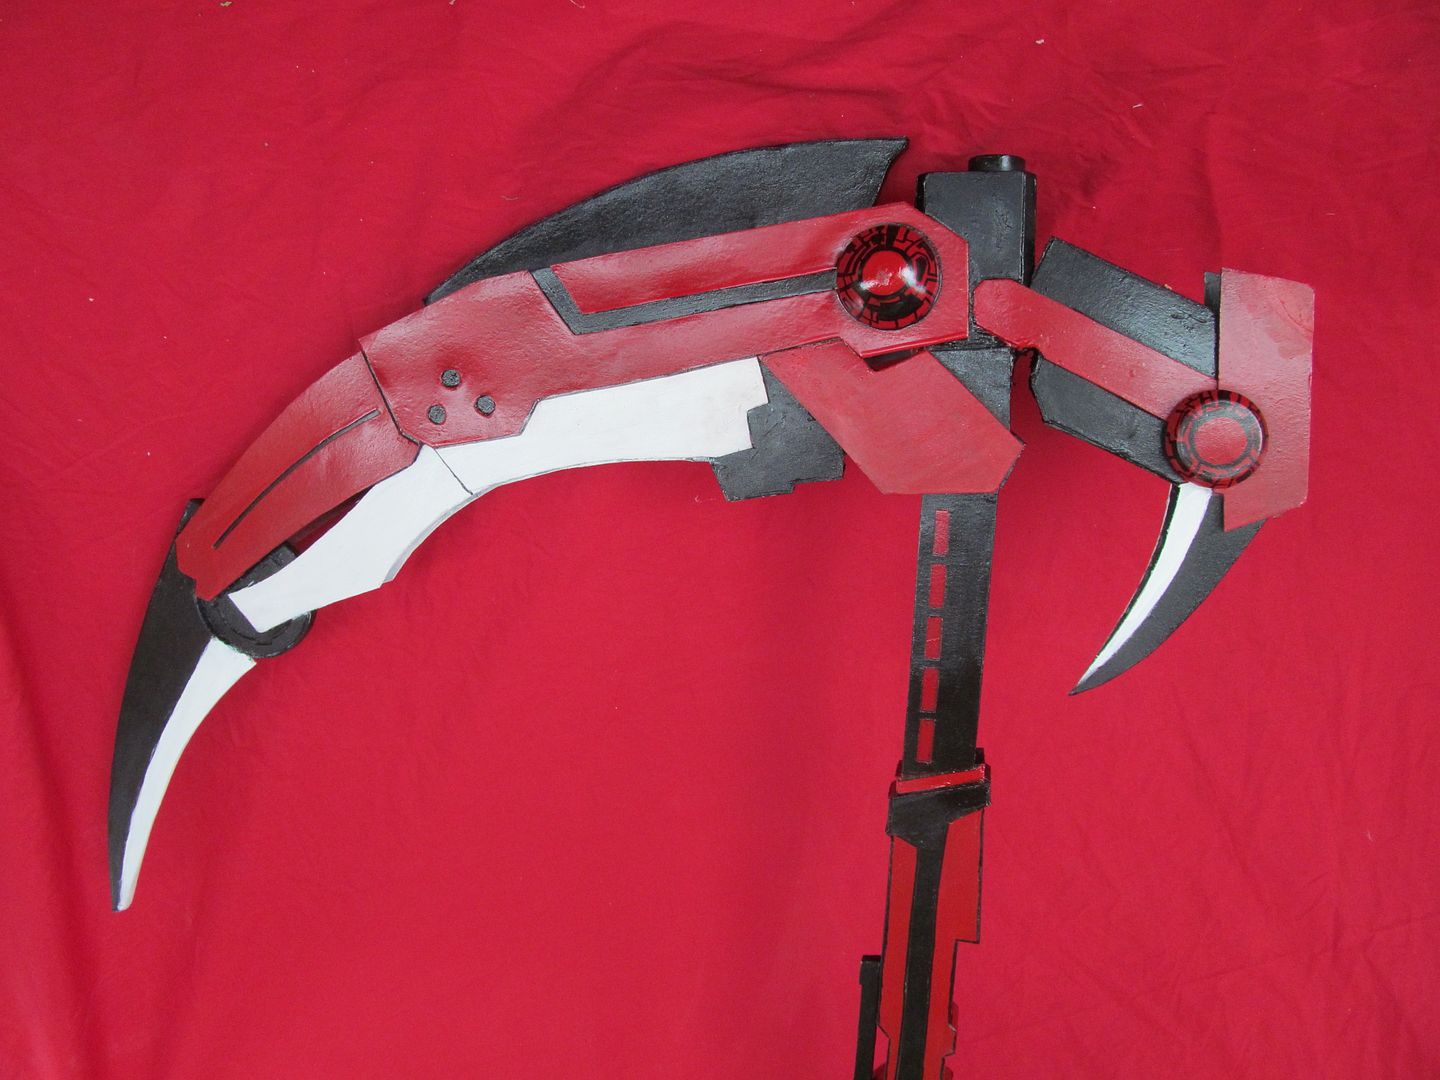
For the front business end of Crescent Rose, again this involved laminating sheets of PVC sheets onto one another but also using wonderflex to do the various raised details.

I should note Wonderflex has two sides to it, a smooth side
and a woven fibered side so when cutting out your
transferred templates make sure you mirror the pieces to match the side you want to be facing out...trust me it'll save you the frustration and wasted material

To glue all the parts together I've use mainly epoxy glue, which comes in a tiny tube that has two nozzles on it , simply mix the two solutions and smear on with a popsicle stick, the glue cures in 5 minutes for a very strong bond.

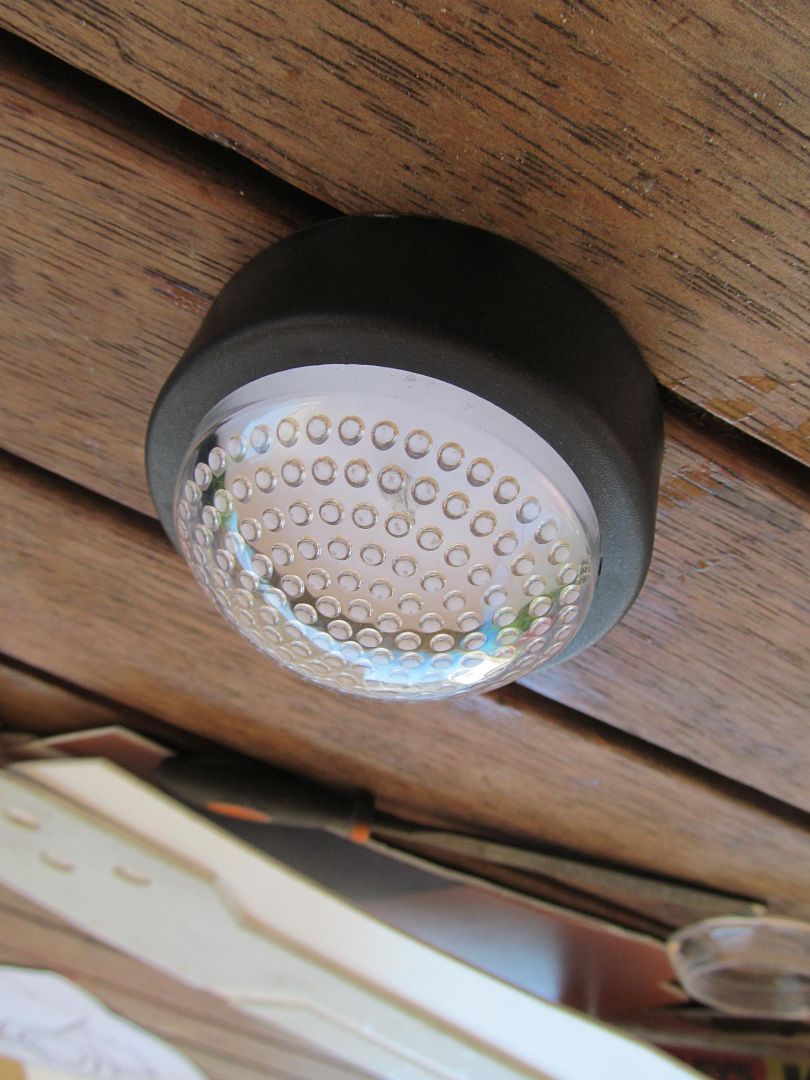
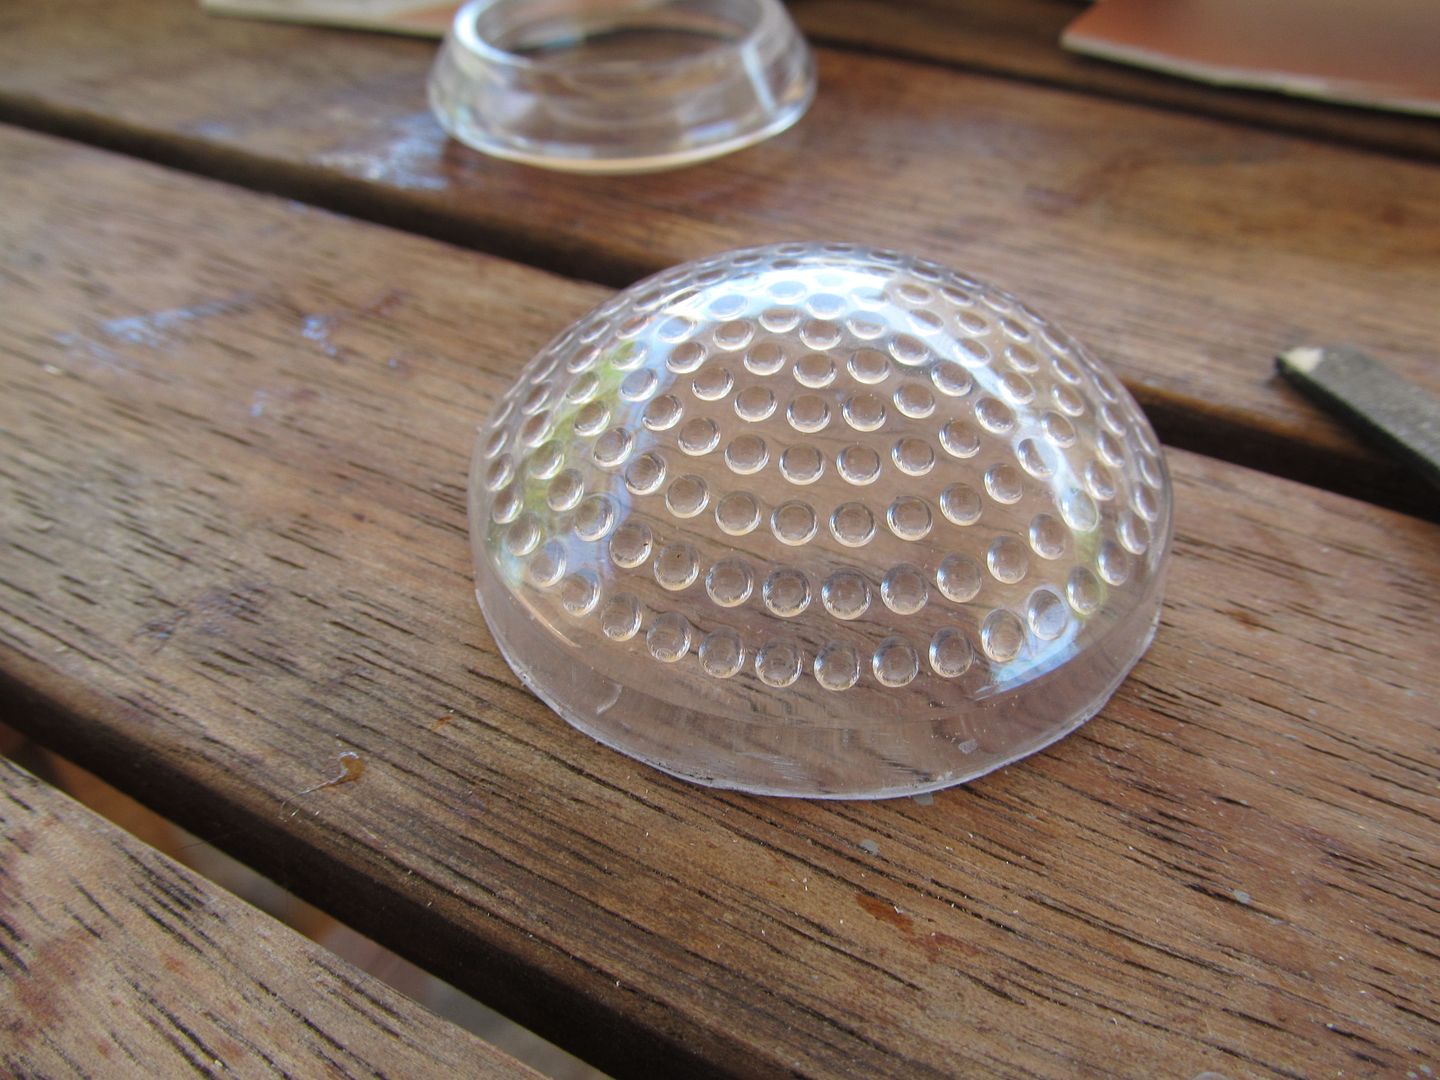
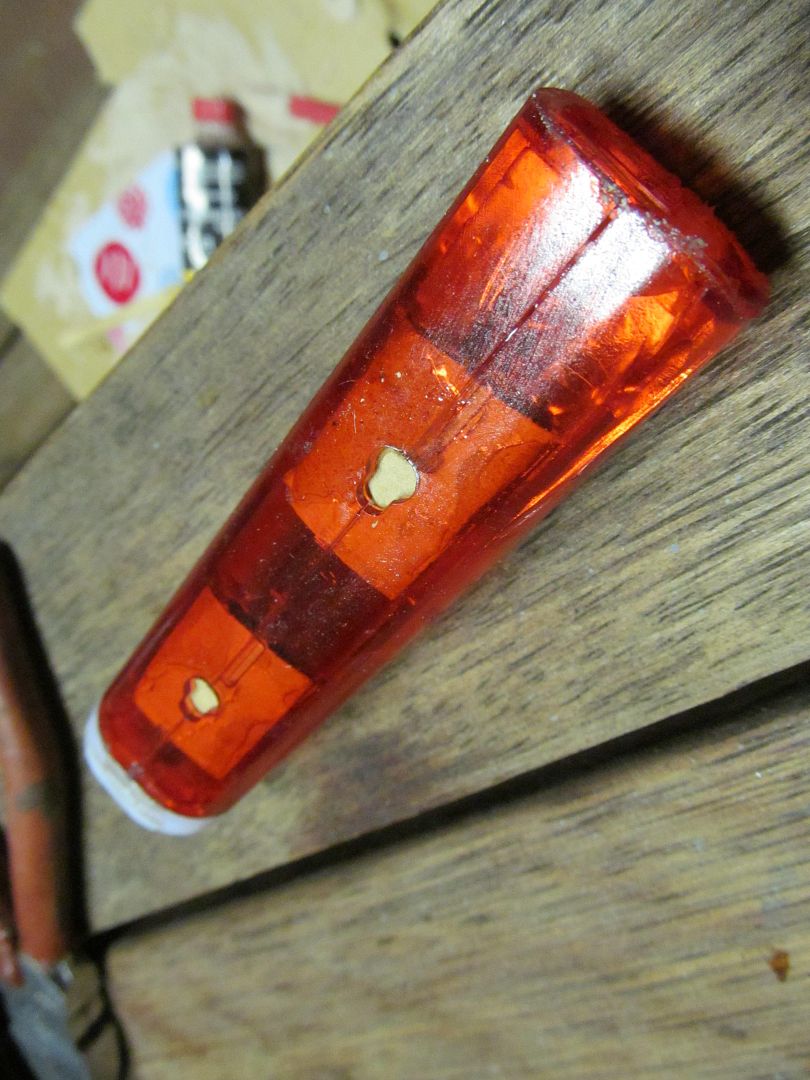
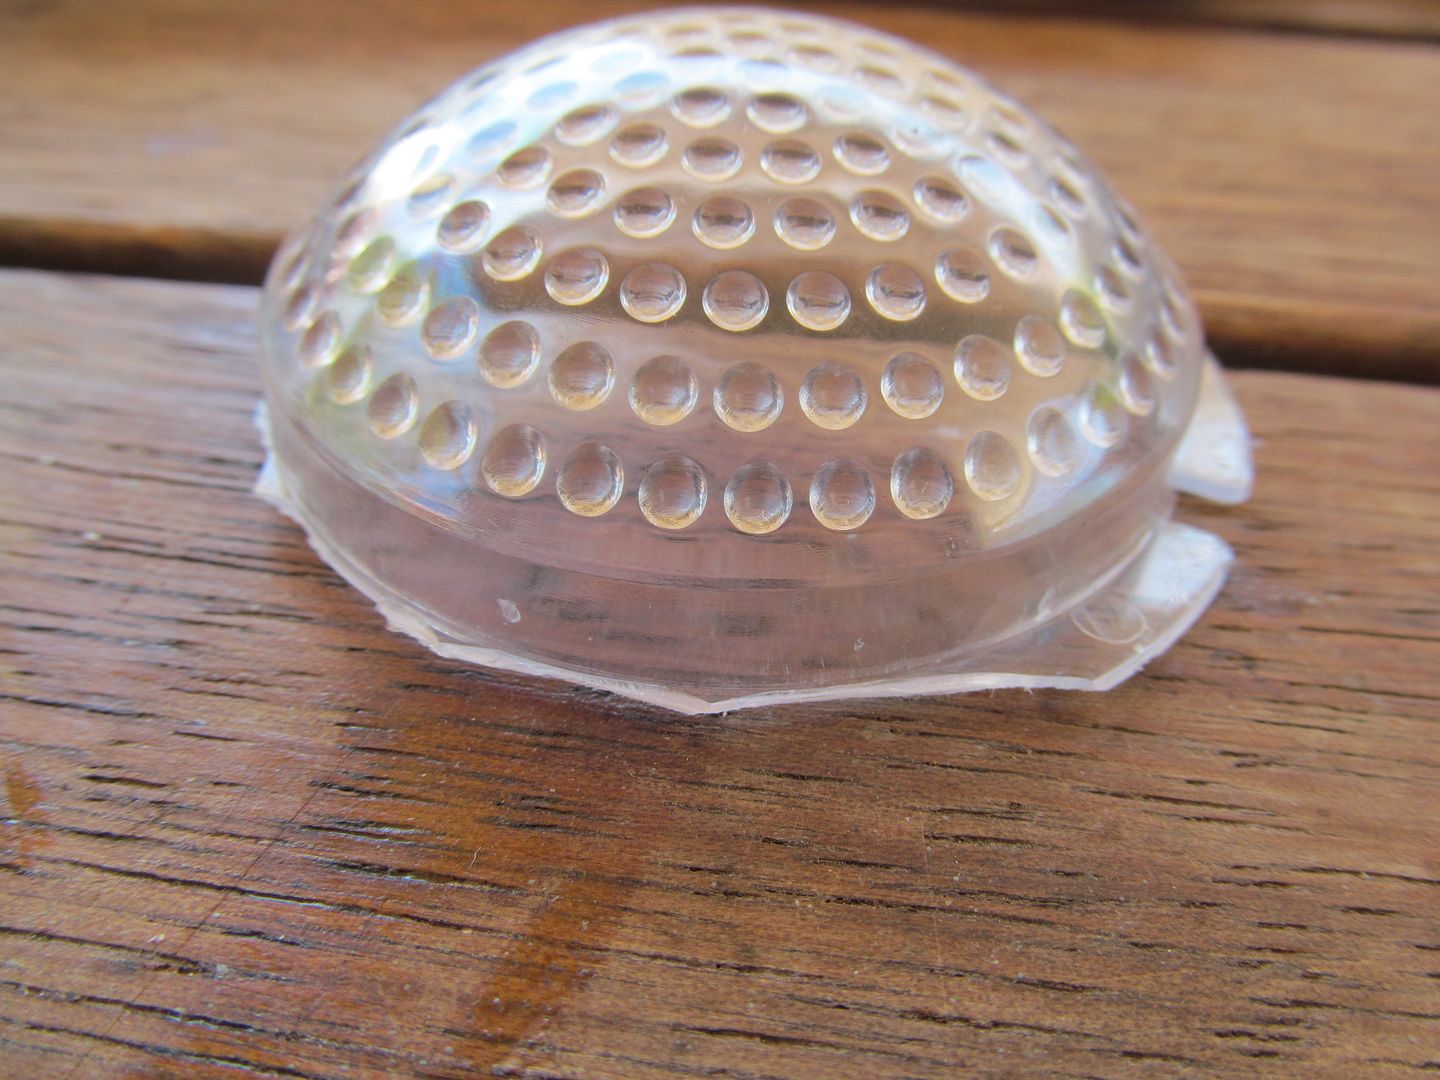
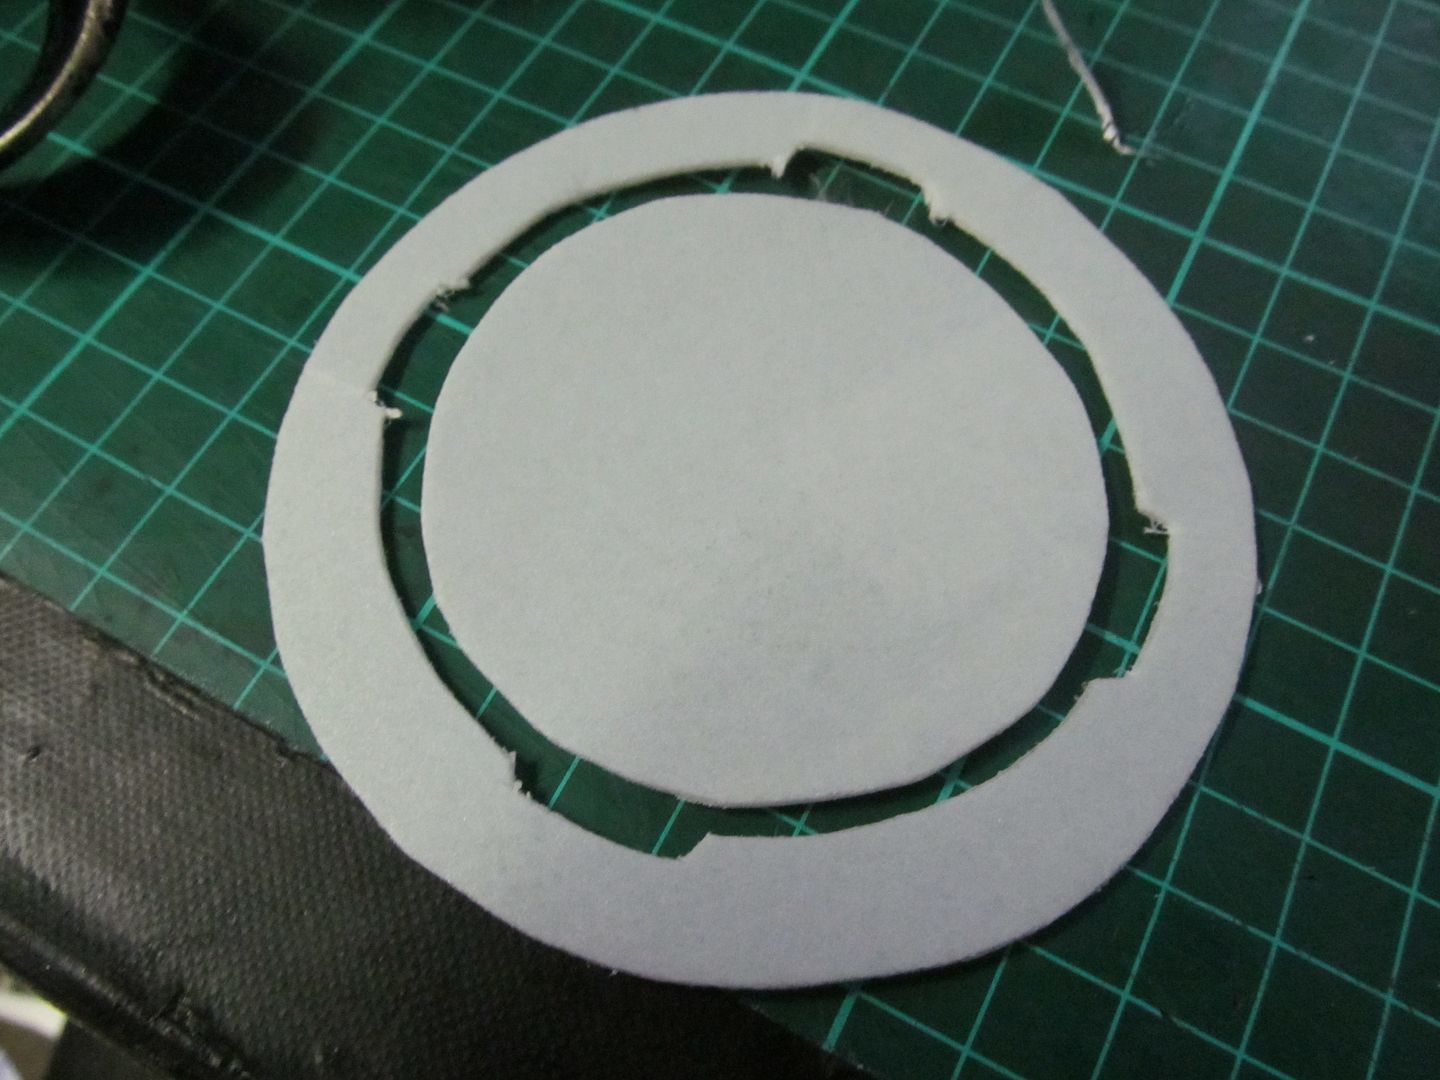
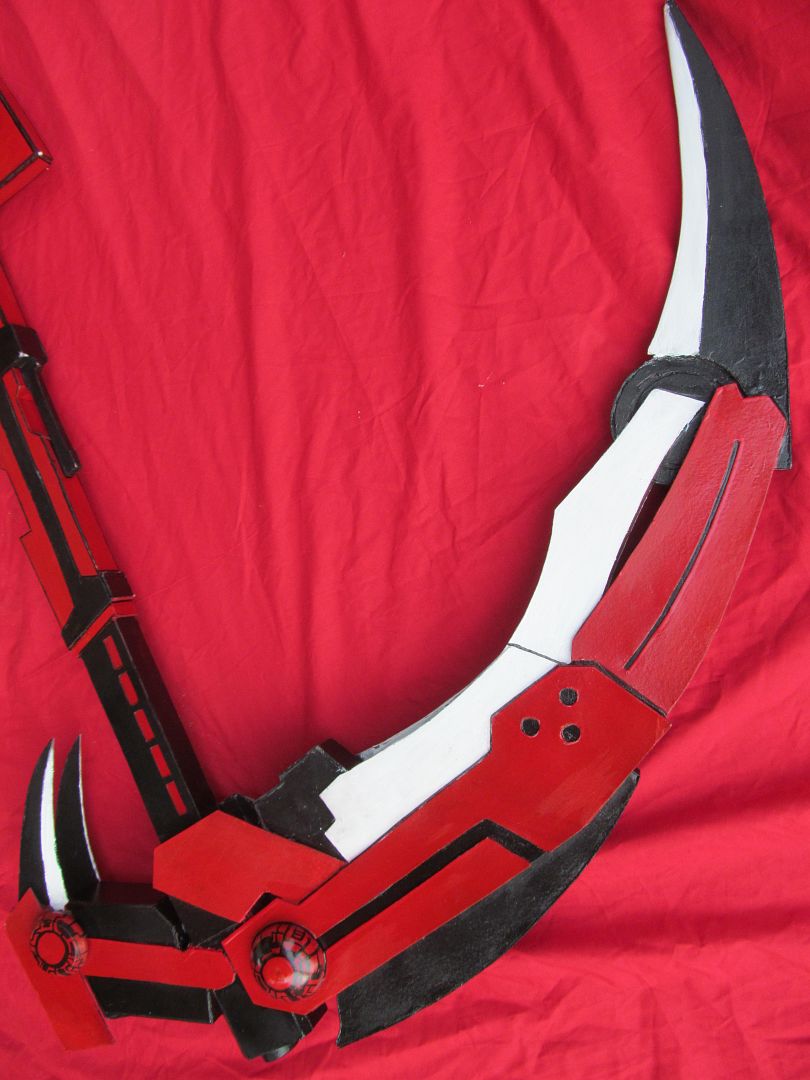
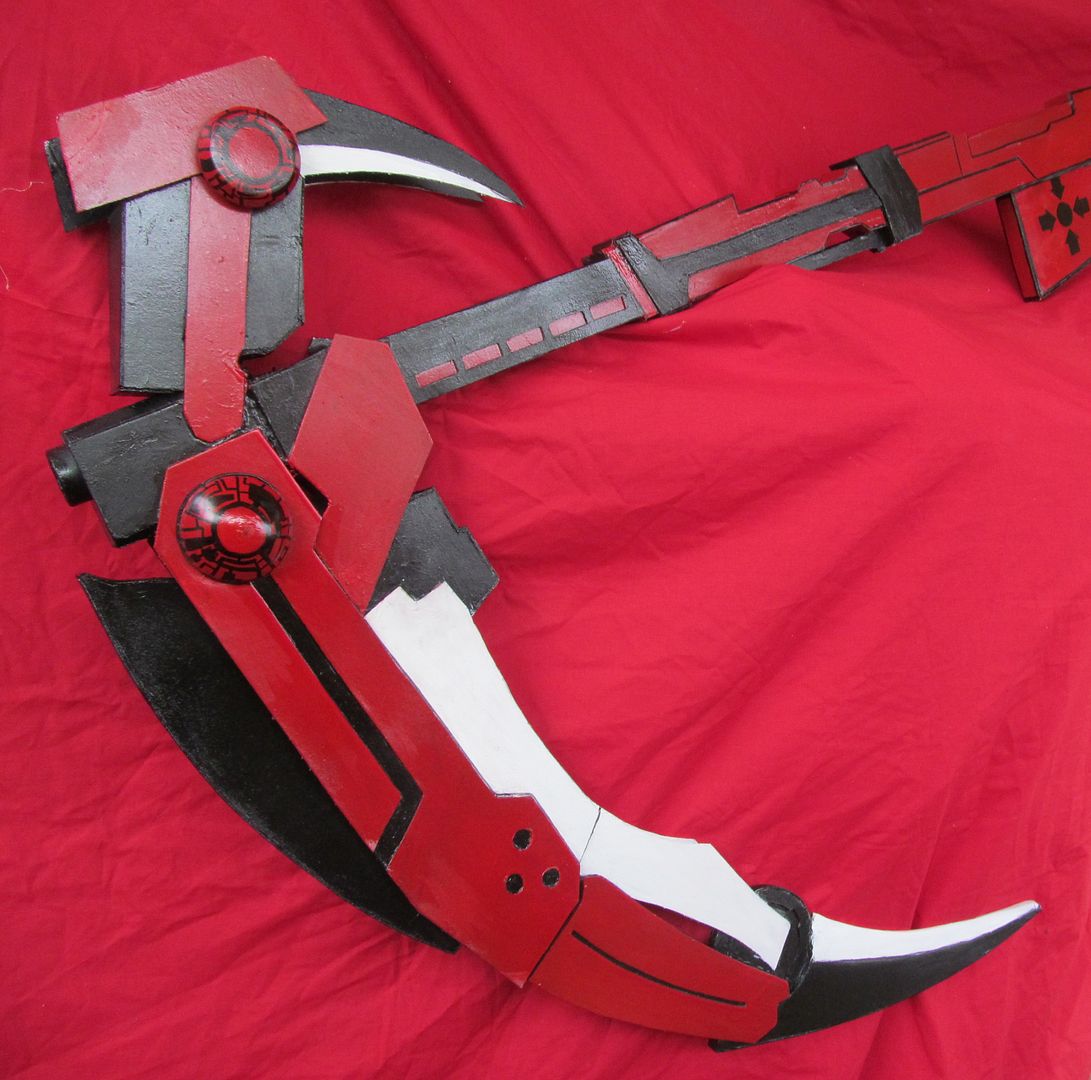
The dome parts on either side were made from a cheap LED light fixtures that I trimmed down.

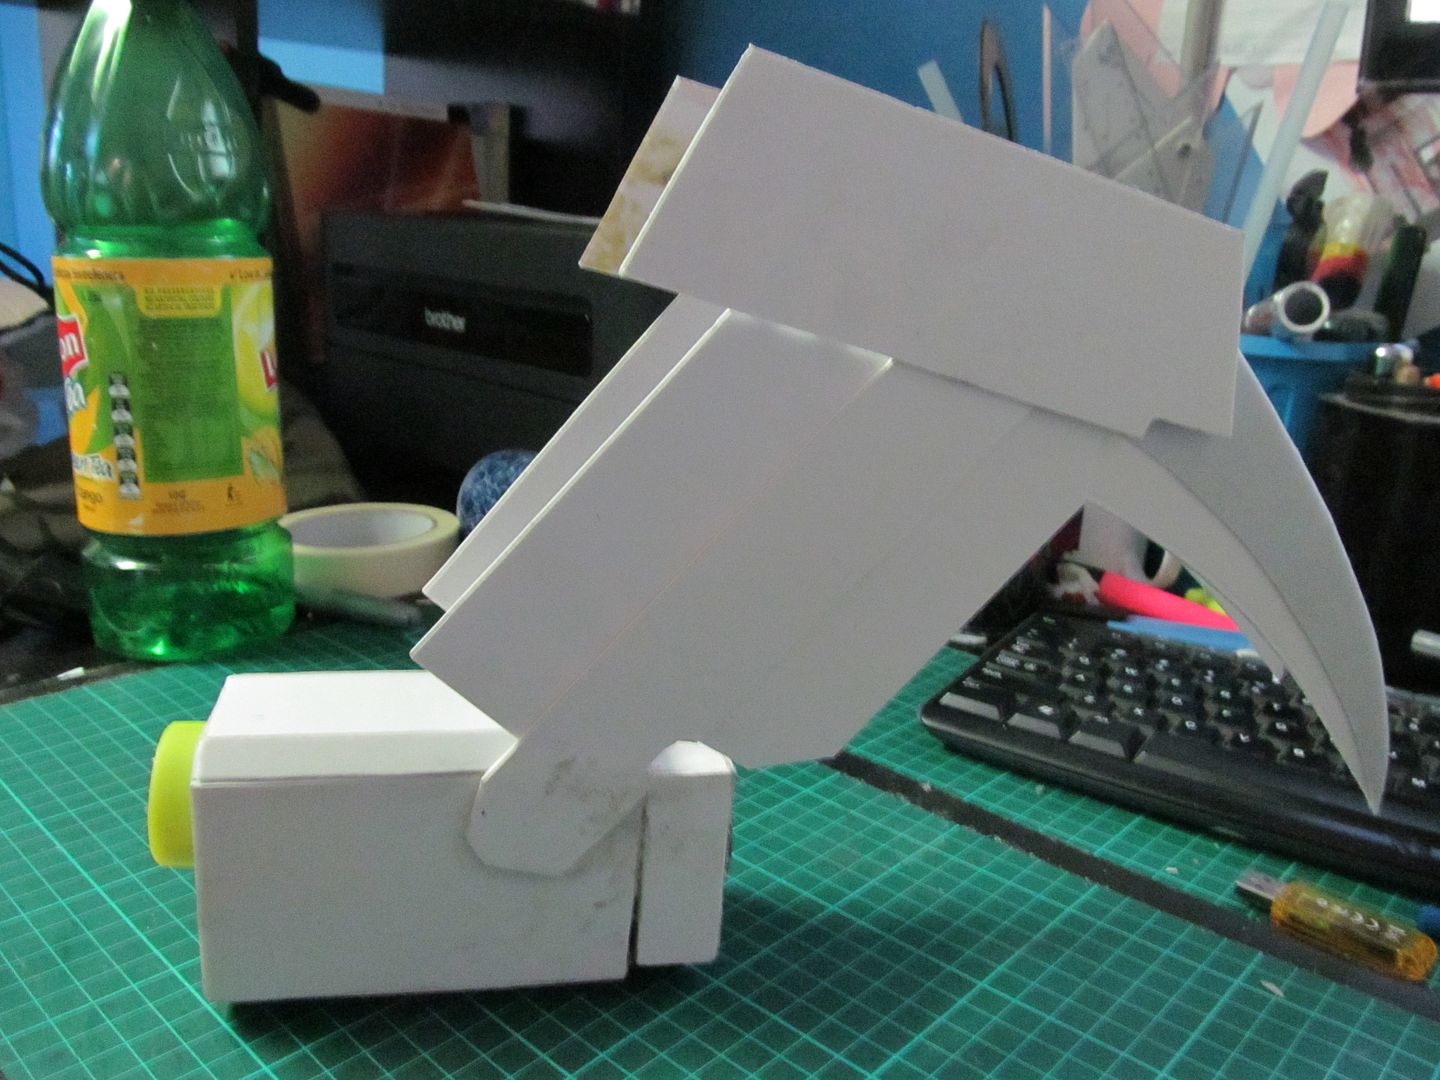
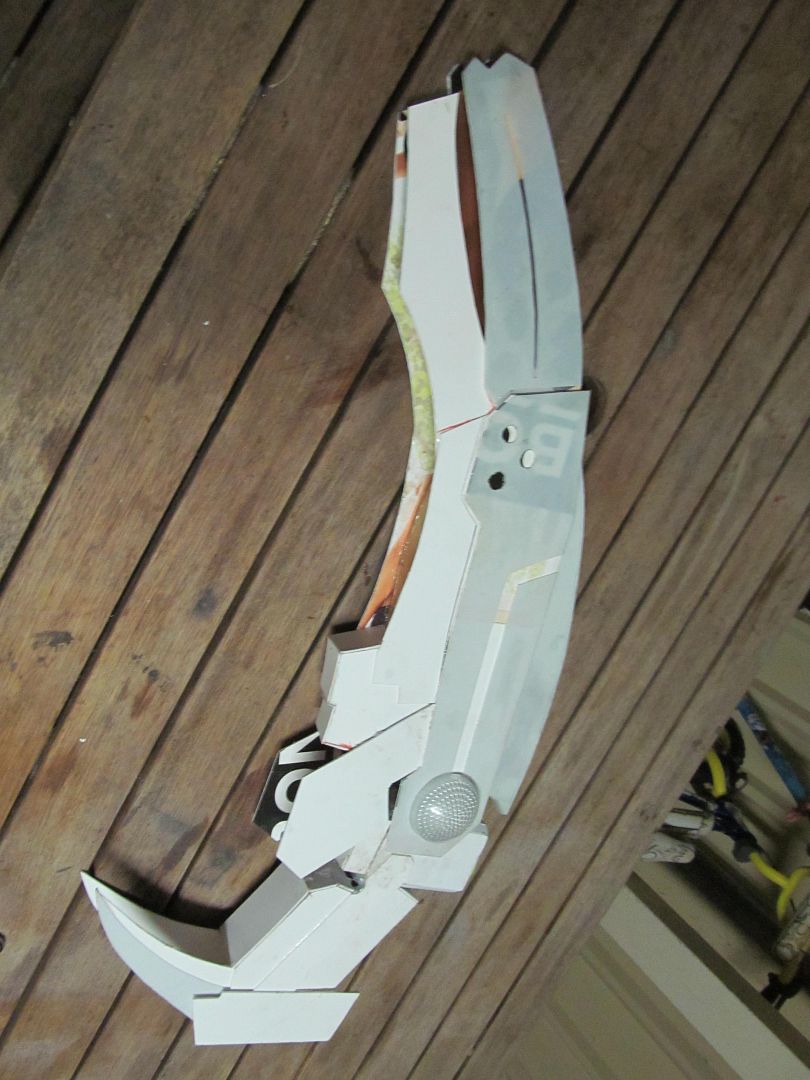
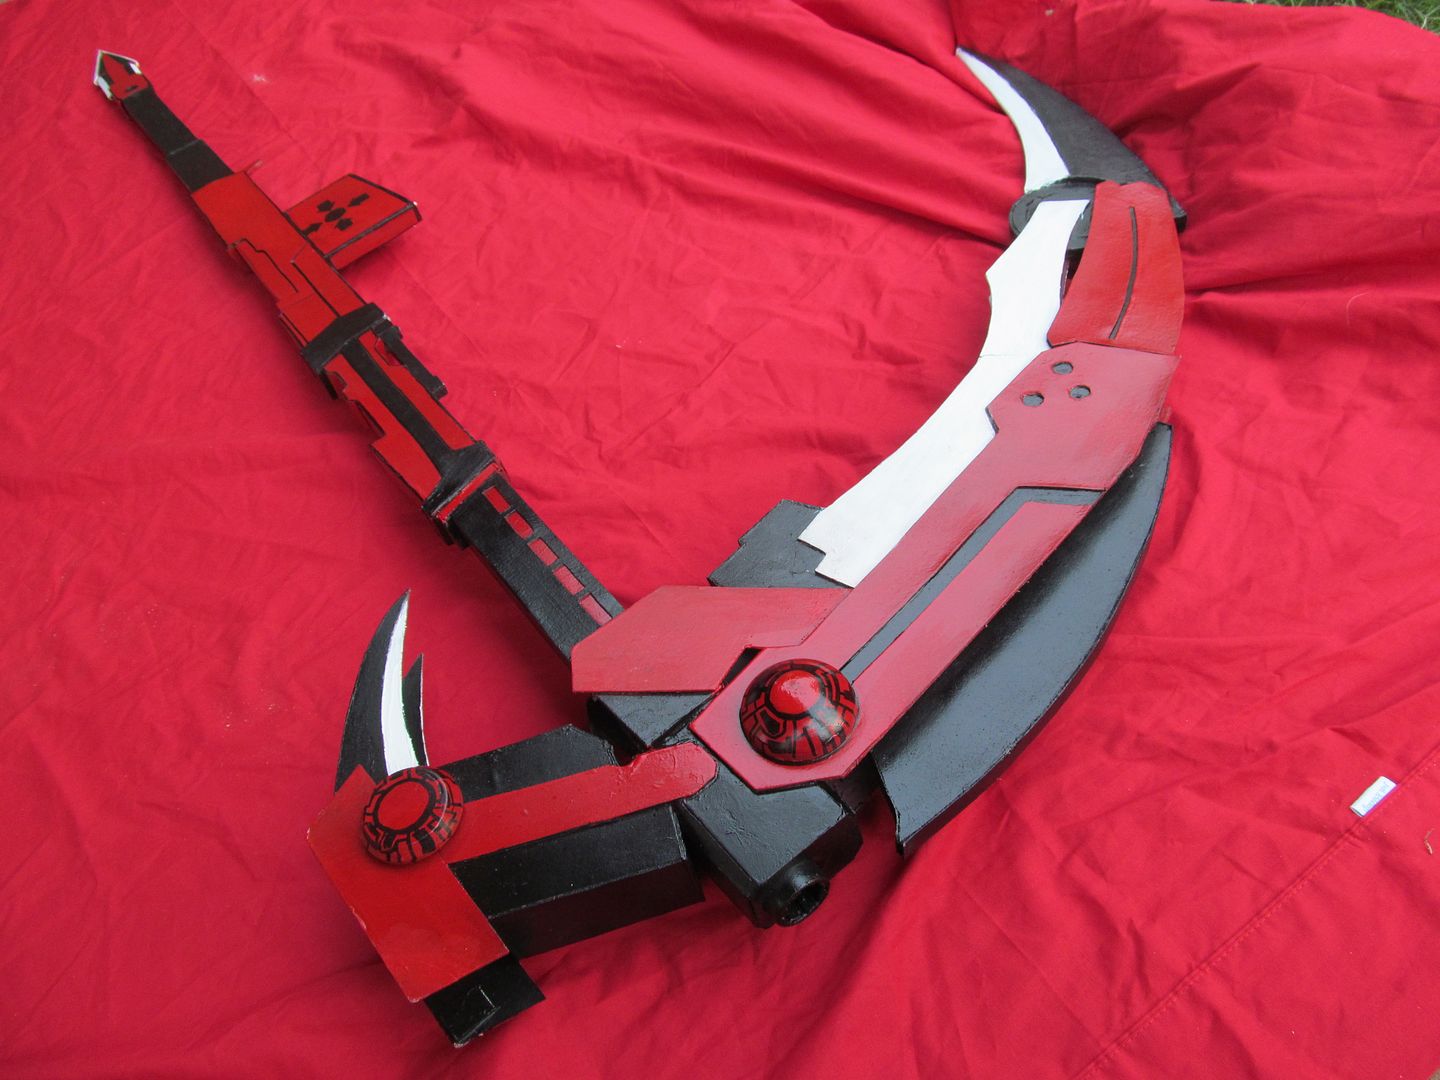
Moving onto the actual blade, using the PVC base I cut out, the bevel of the blade was shaped with automotive body filler (bondo) and then sanded down.


For the top fin of
the scythe I glued a bridging base across the span of the scythe which it would
sit upon, and again used this opportunity to put in as many of those cardboards
fins inside as I could.
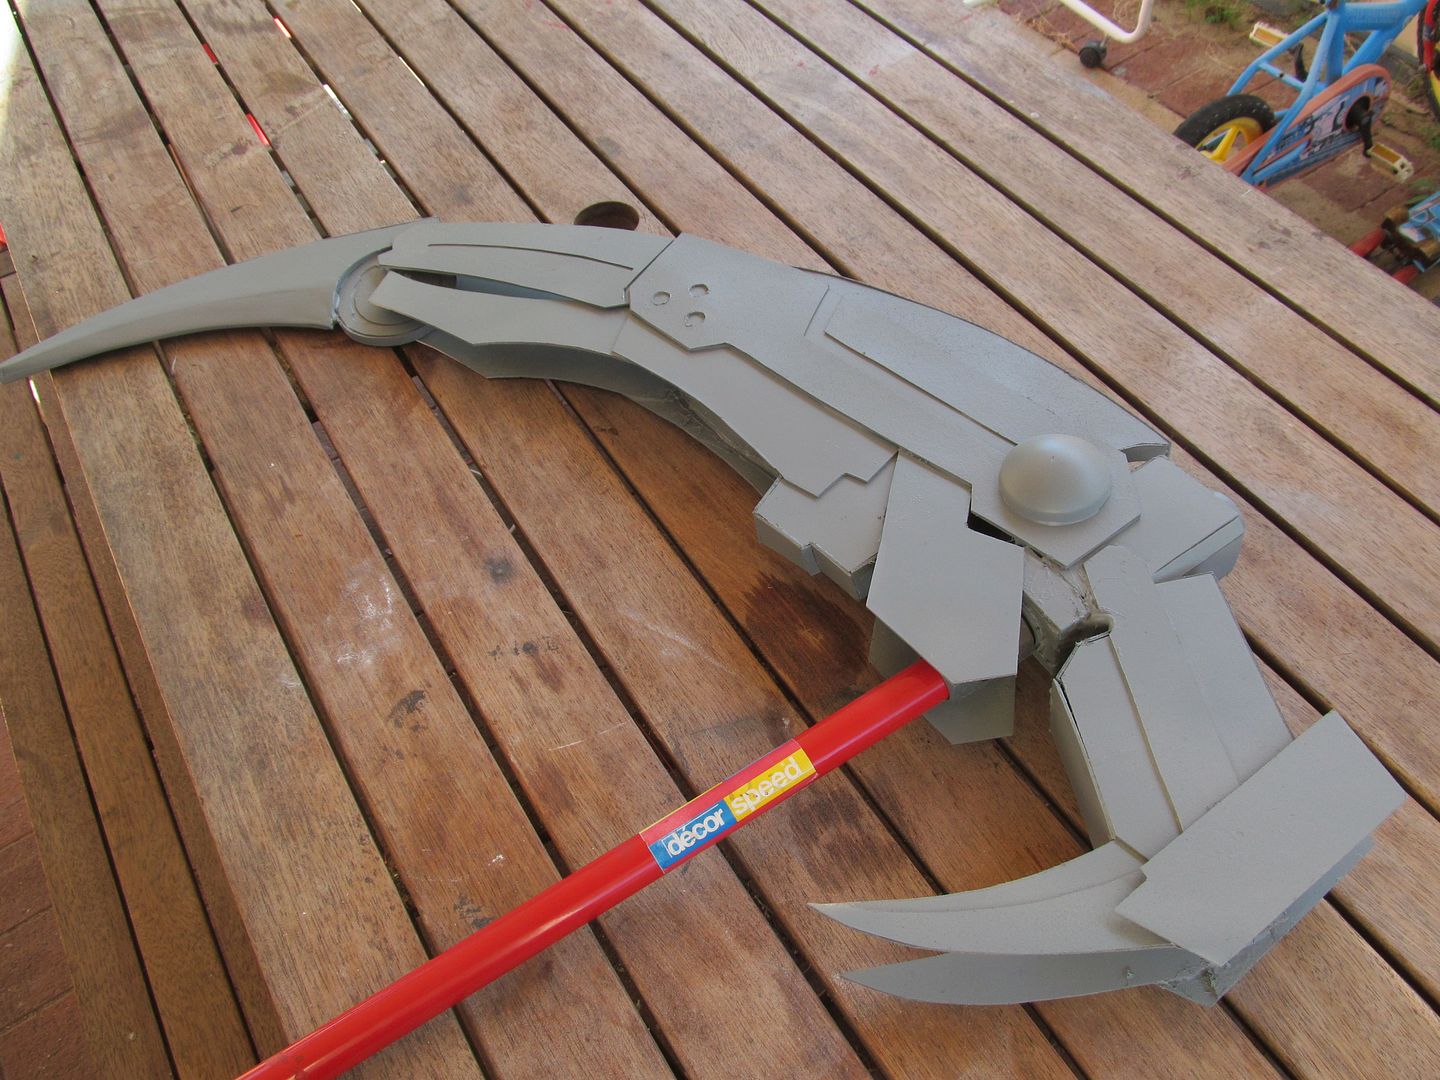
Gluing the blade part
to the rest of the scythe head with Araldite Super Strength epoxy, I topped
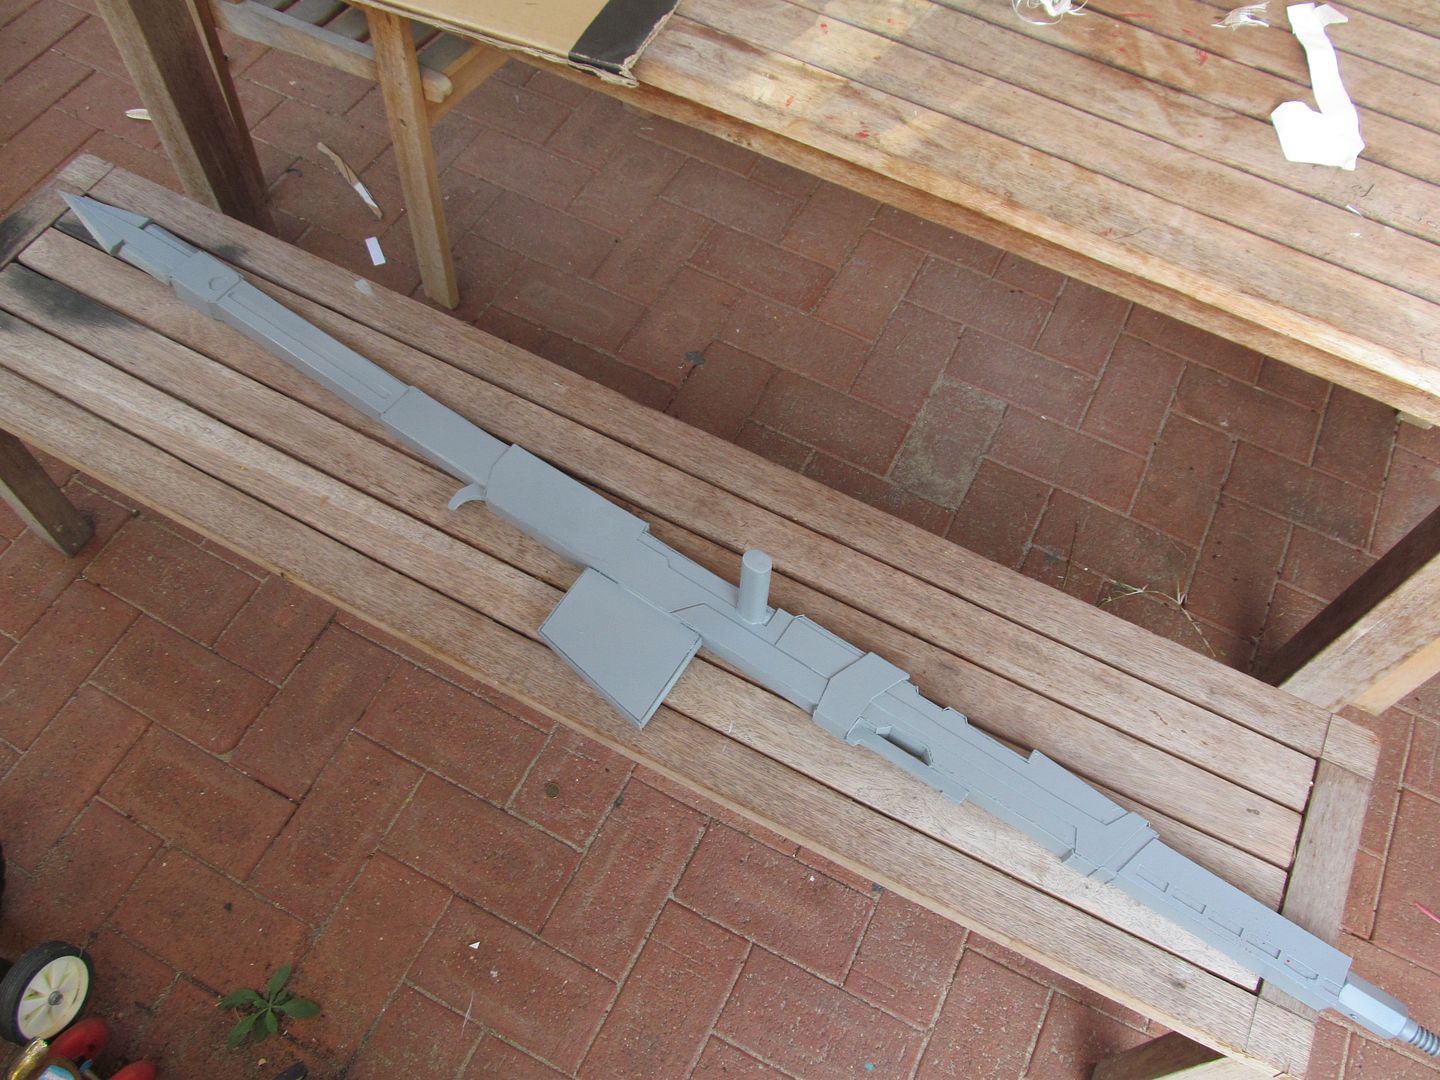
it off with a couple coats of primer.
 |
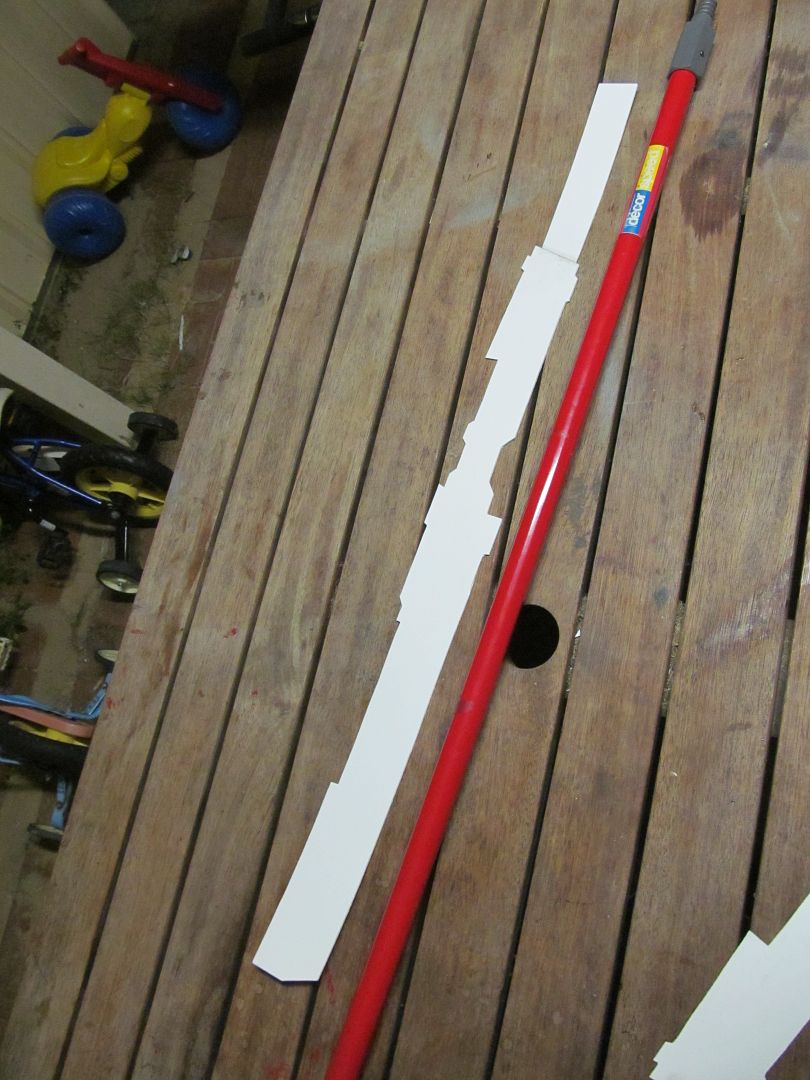
Starting work on the scythe handle; using the original garden broom handle,
I used contact cement to glue on the two faces of what would eventually become
the handle base structure.
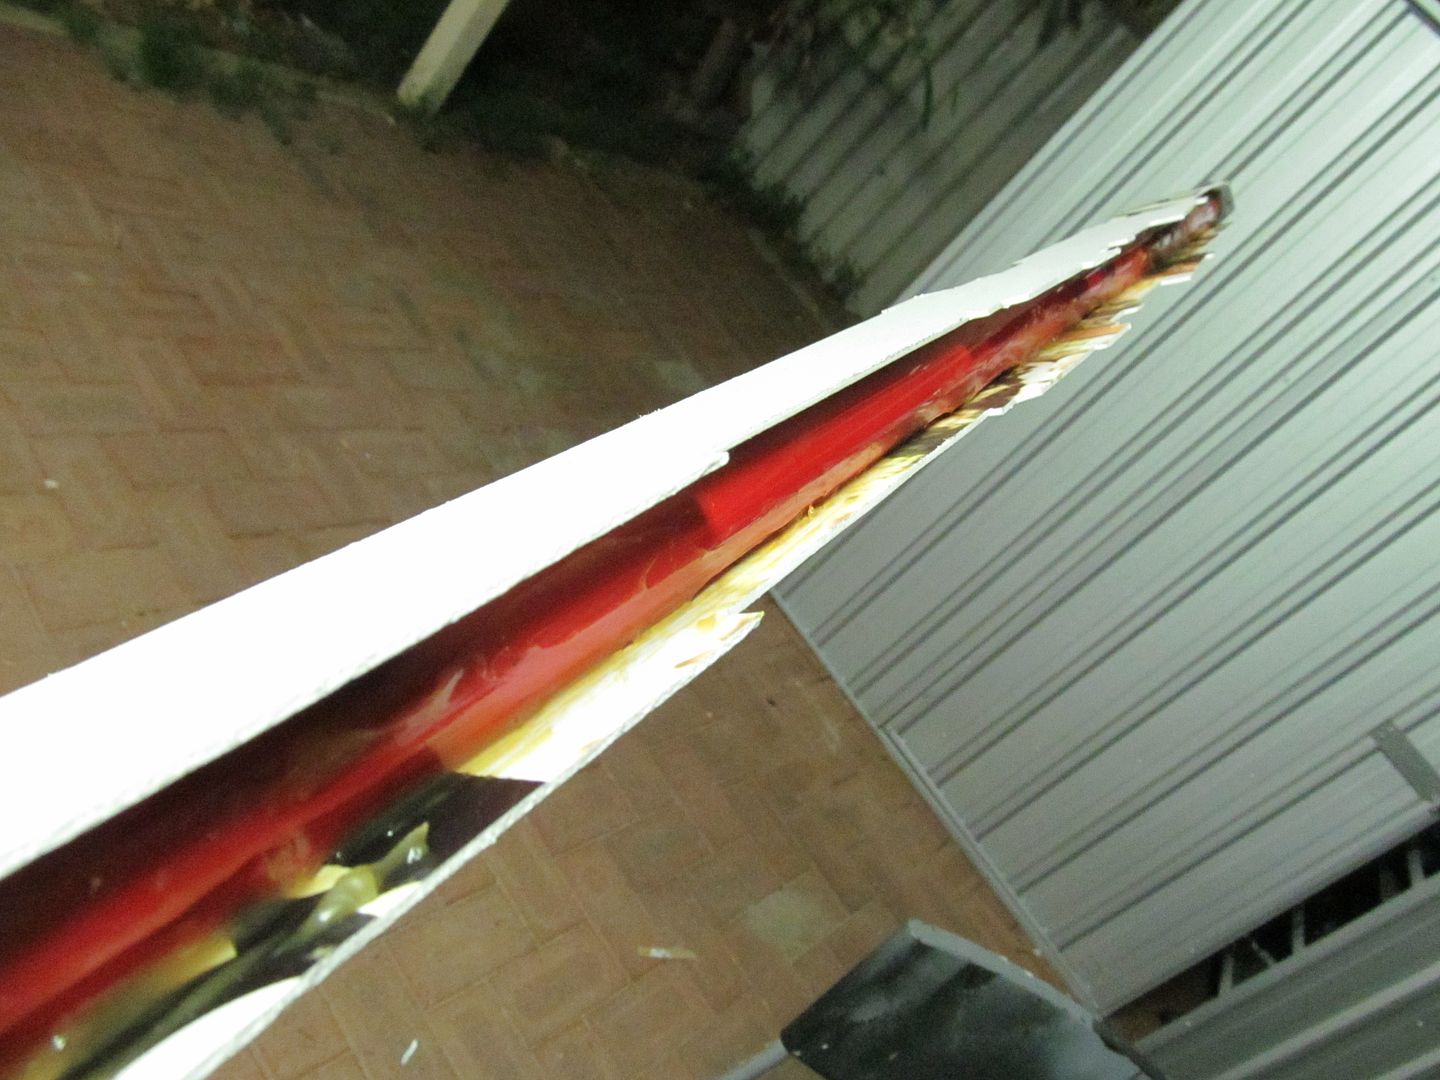
And since the handle is expected to experience the most
handling and wear, I had to incorporate a whole heap of fins to ensure that there is as minimal bending or warping as possible. So fins, fins, fins, time consuming
but essential.
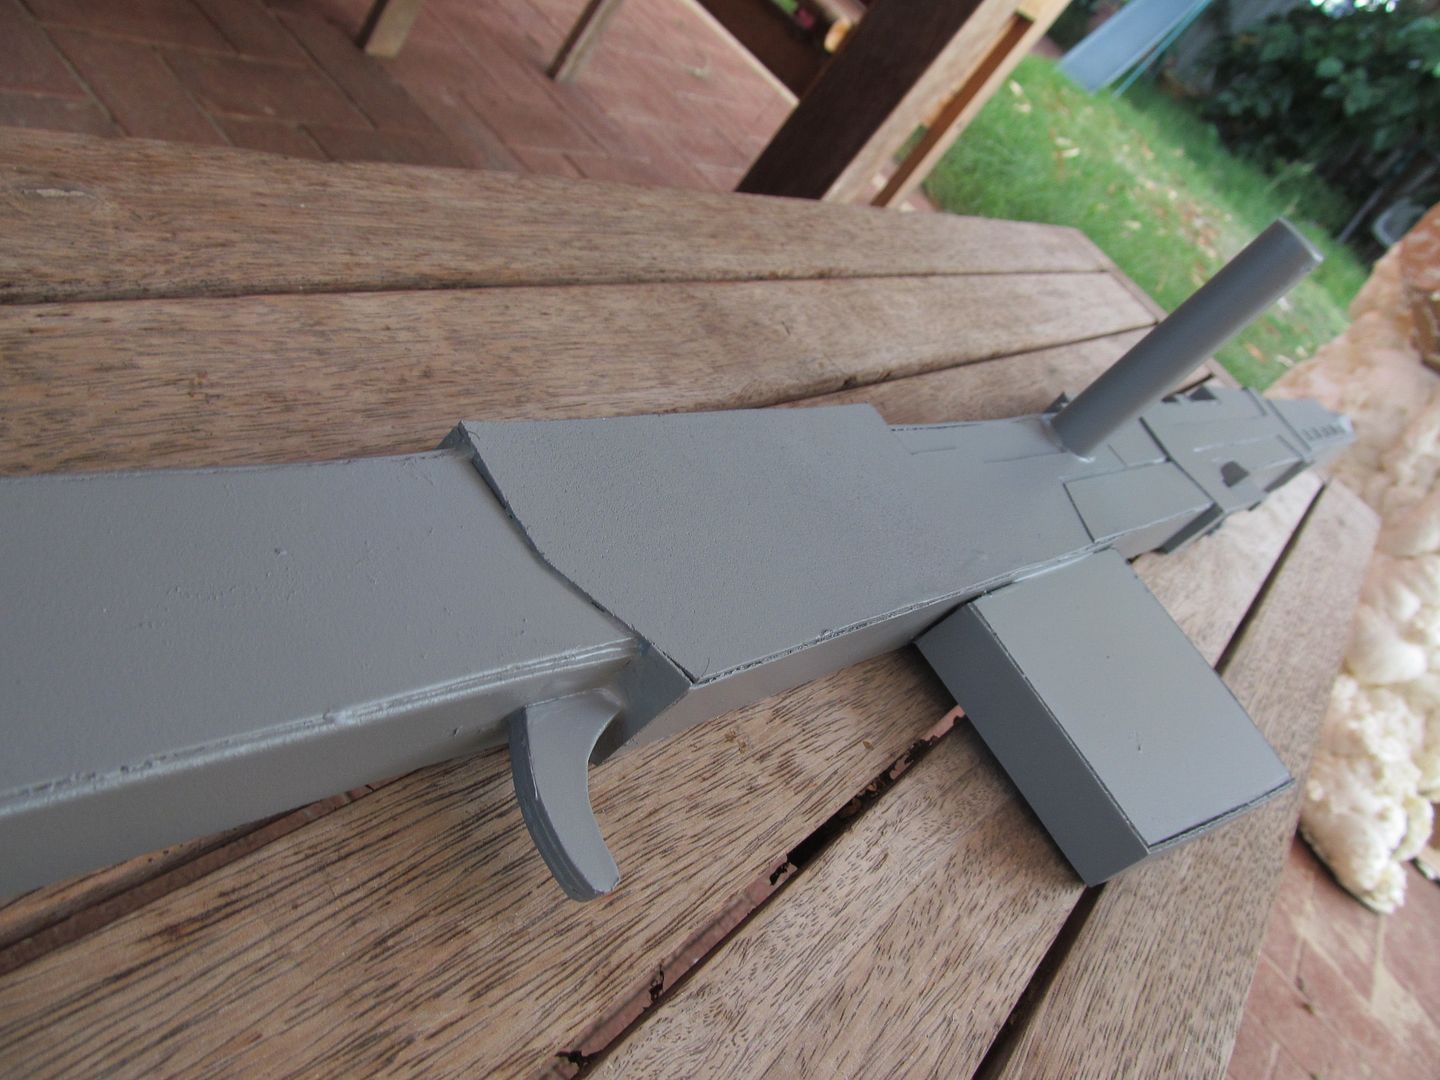
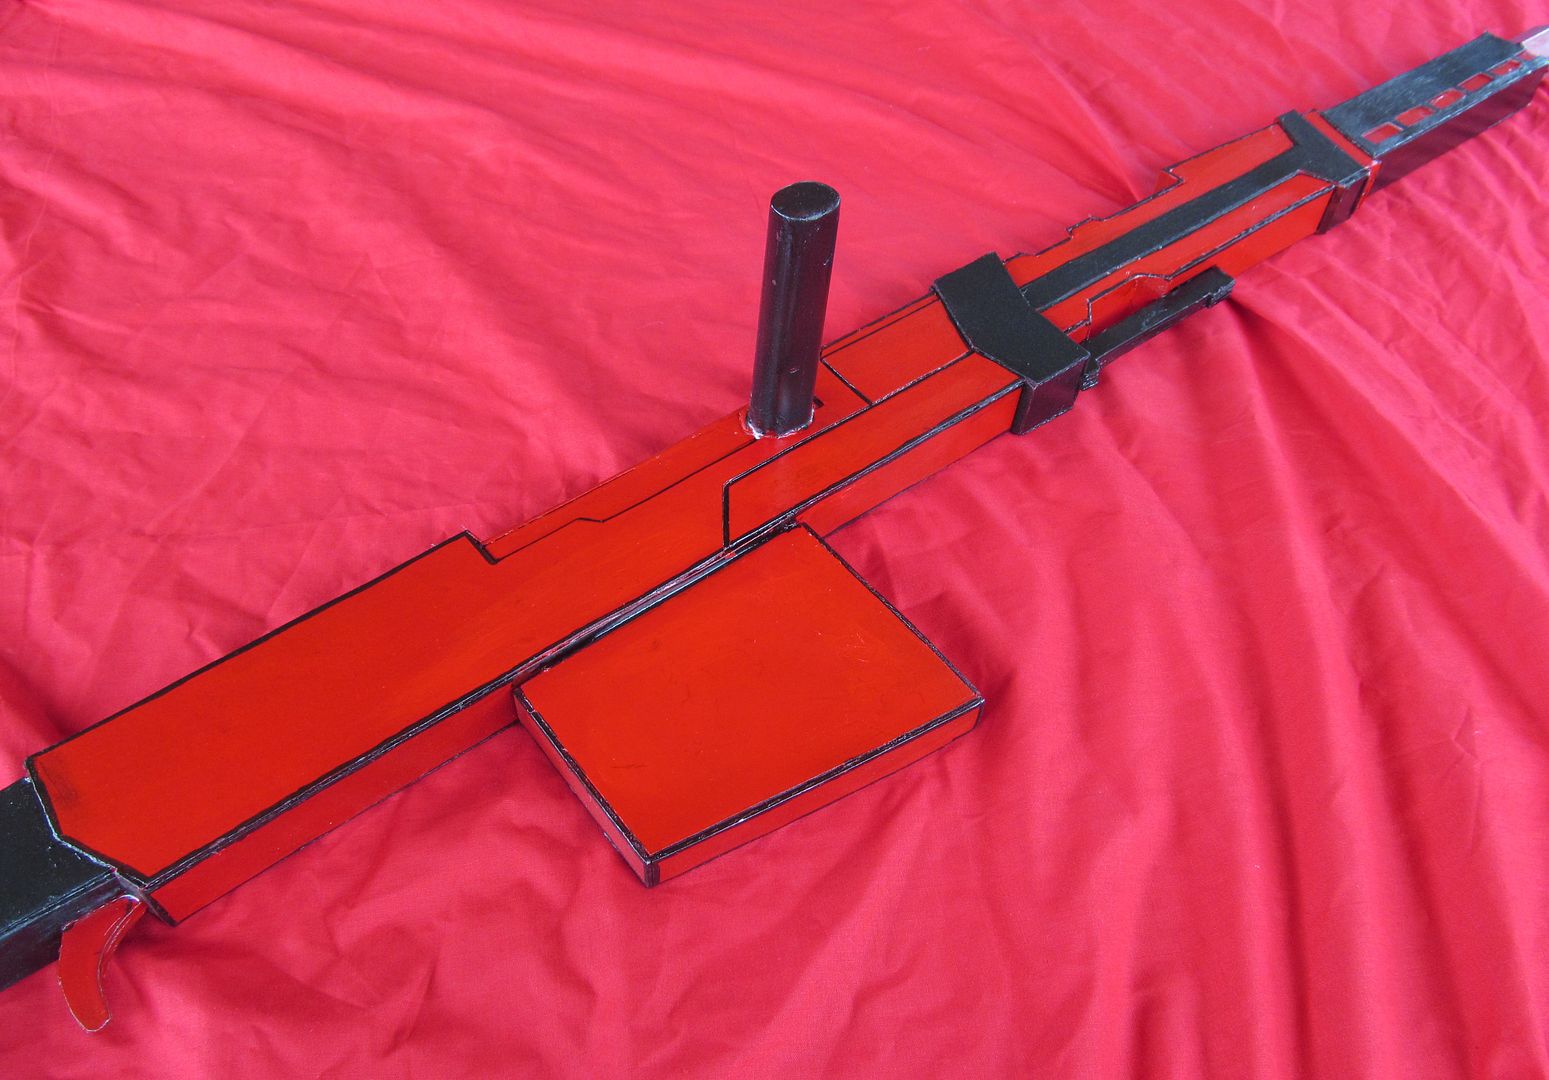
Closing up the exposed faces with PVC pannels and using wonderflex to the various details that runs along the handle its starting to take shape.
With the front half looking good I underwent a similar build process to do the back half.

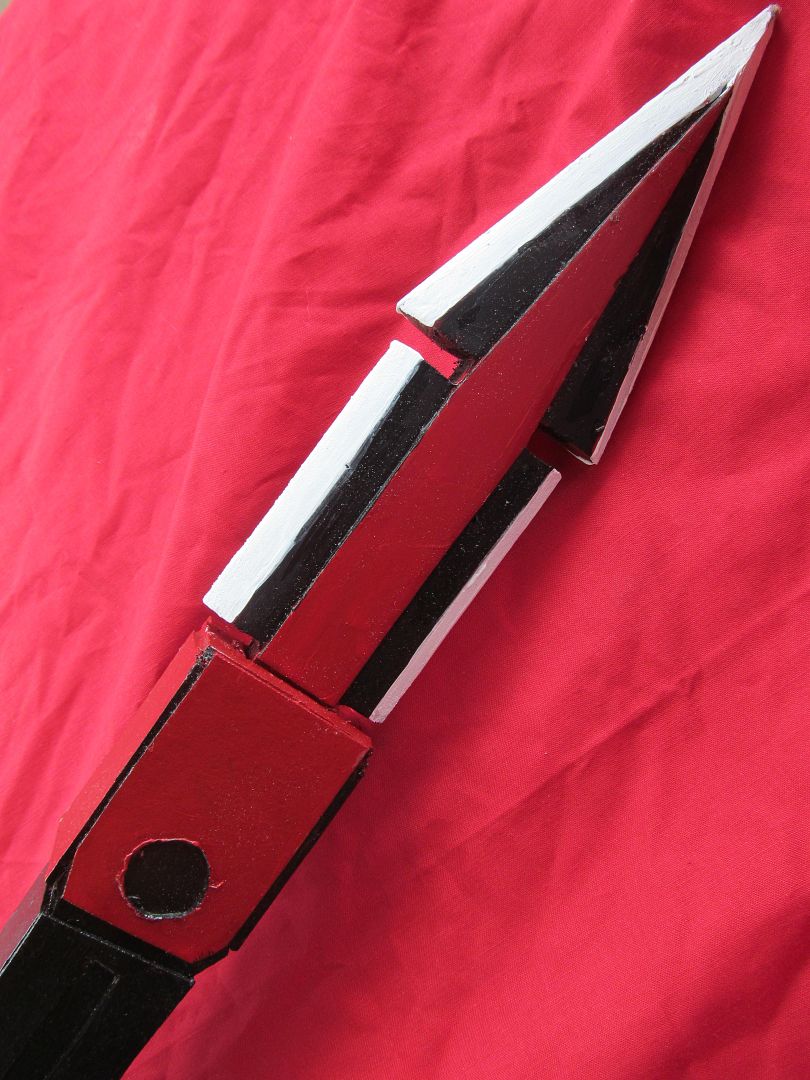
In particular the spear tip on the end of the handle was cut out of MDF.
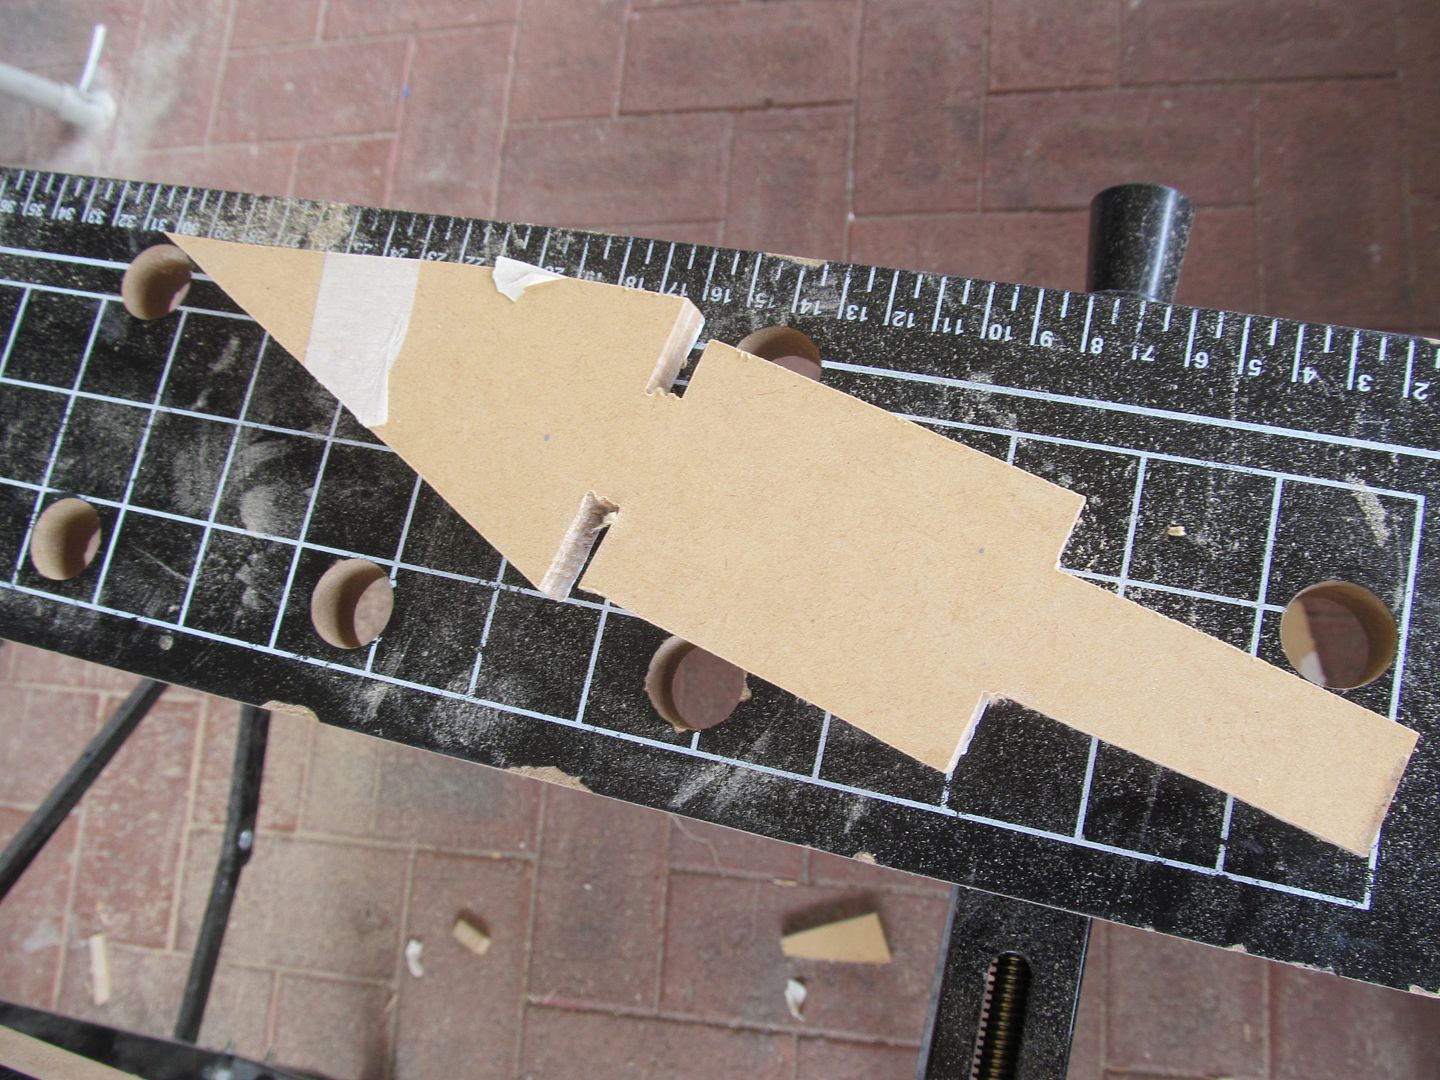
The blades shaped with a belt sander making sure not to over cut the bevel.

and finishing off with piece of PVC.

The side bolt handle was made from a cheap hand fan I found one day, which happen to have the right shape and length.

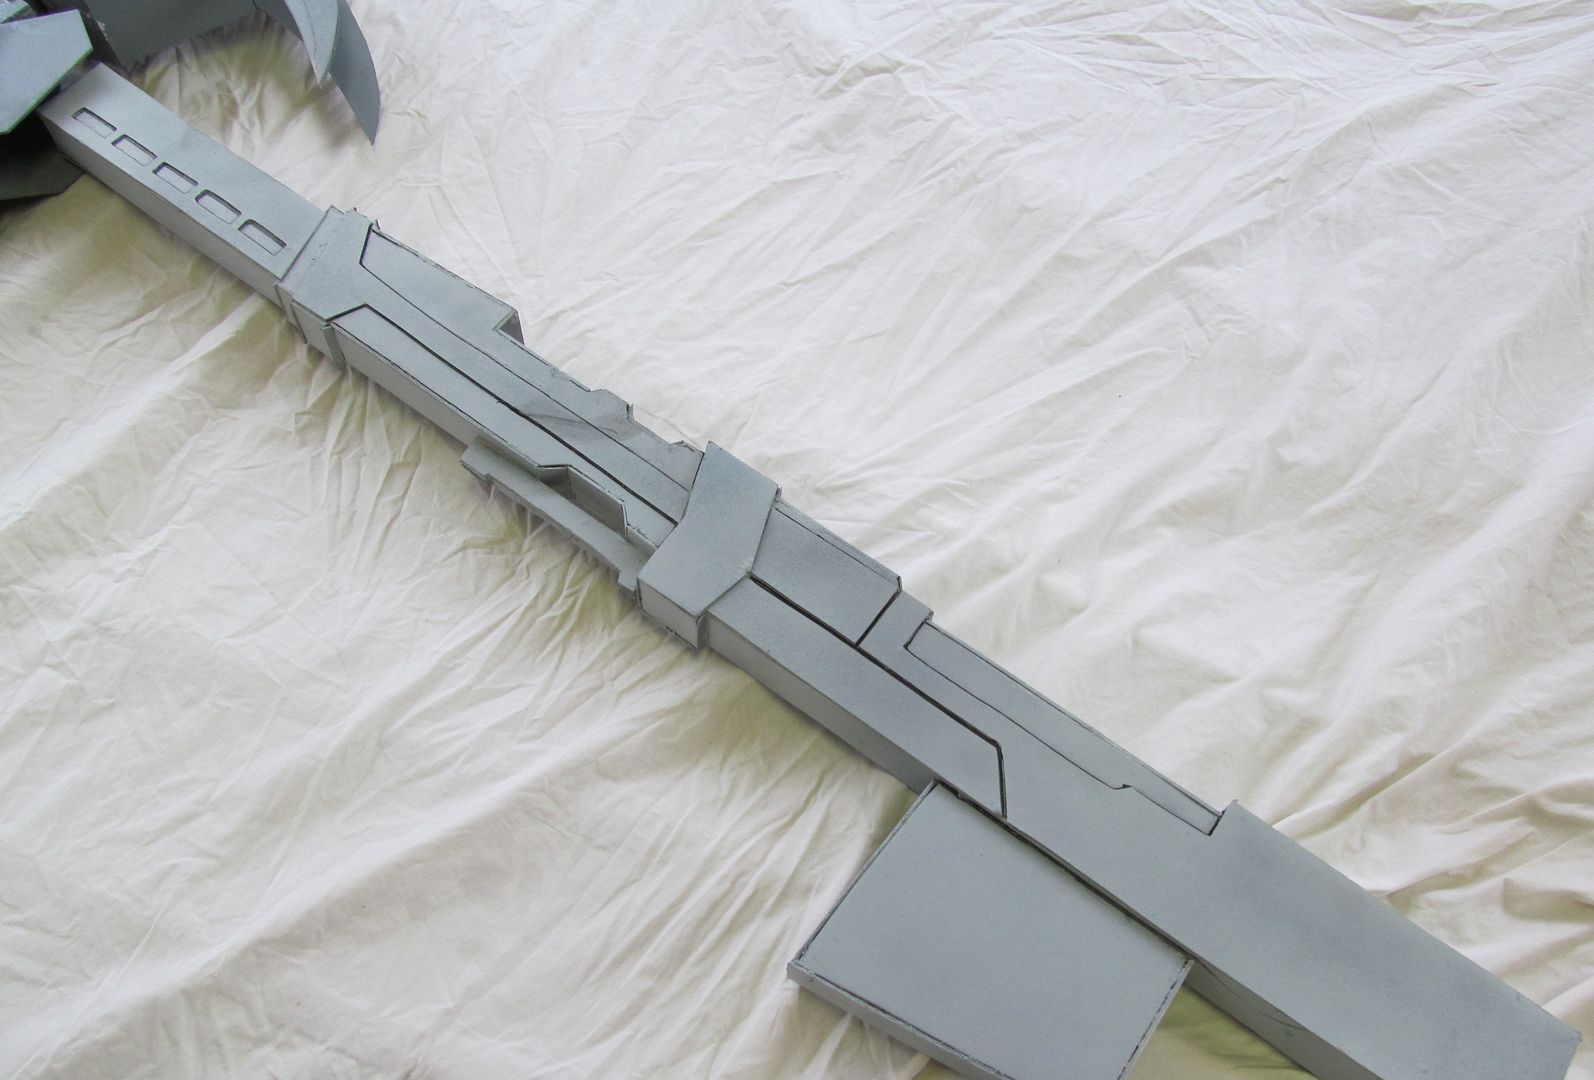
Gluing on all the remaing details like the trigger and such with tubes of epoxy glue, giving it all a good coat of primer i was ready to begin painting.

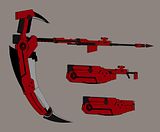
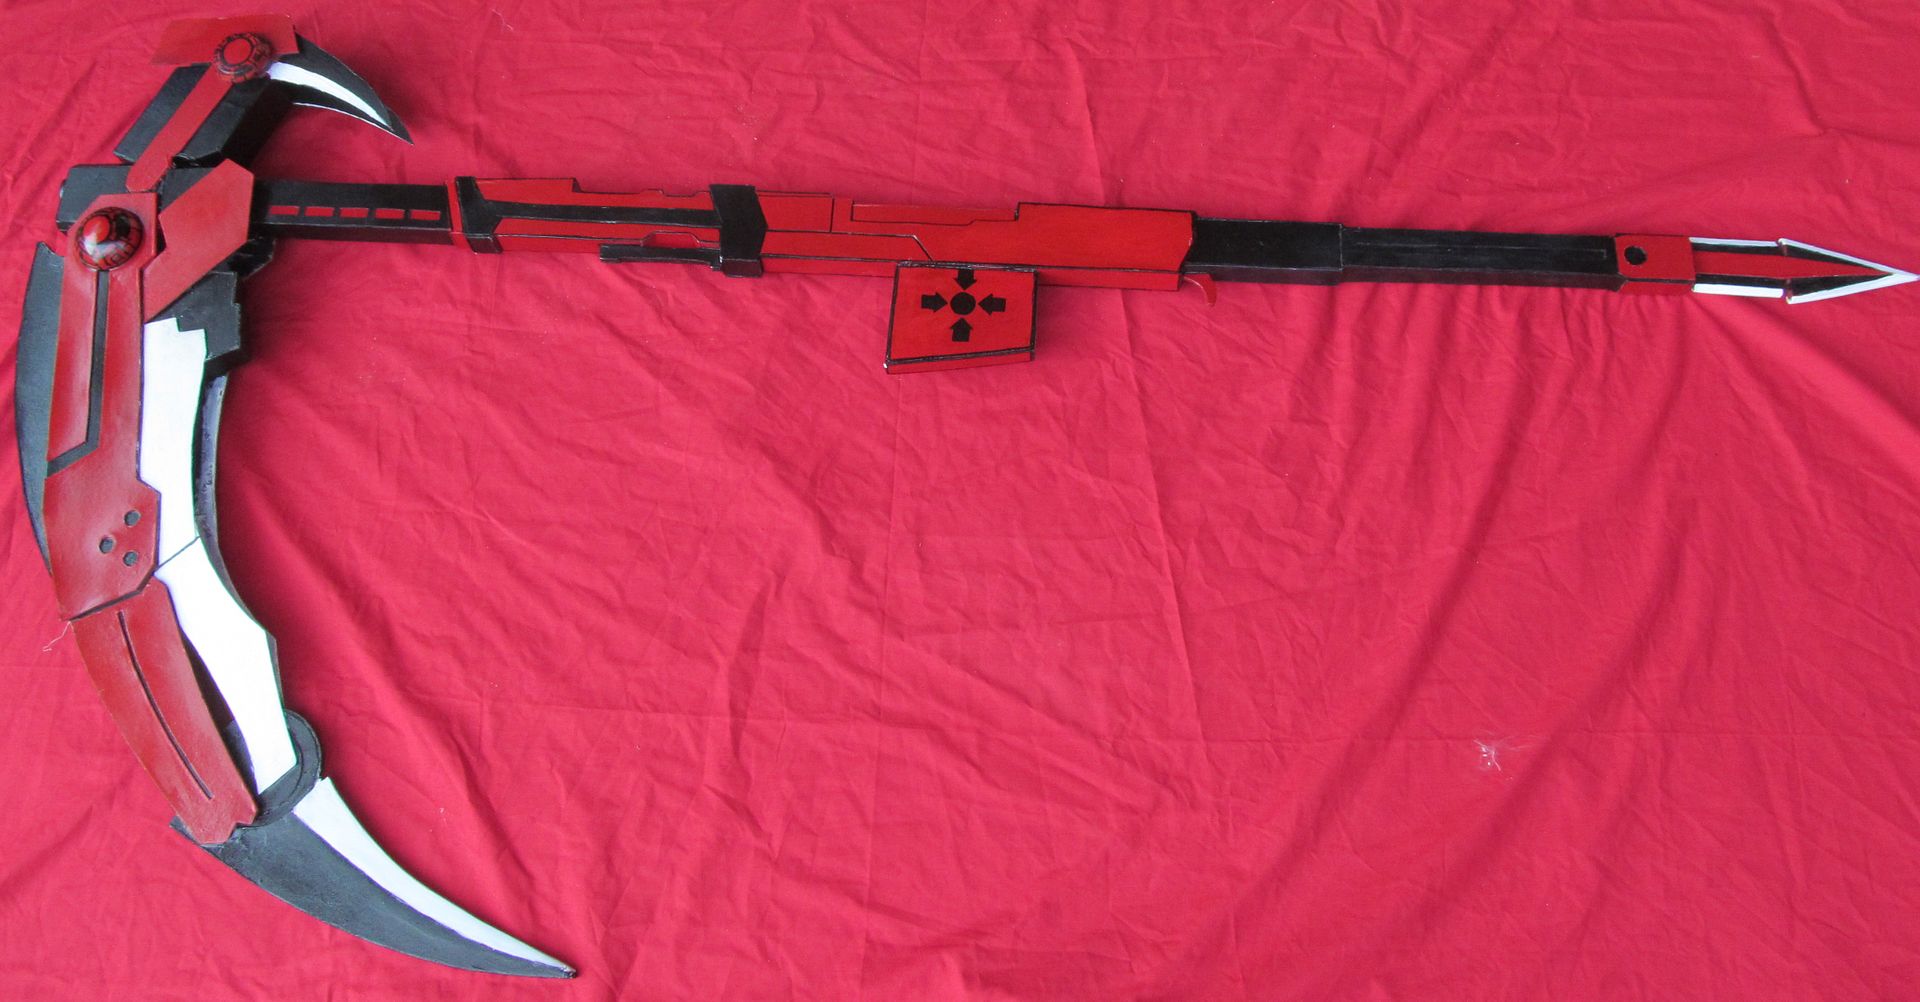
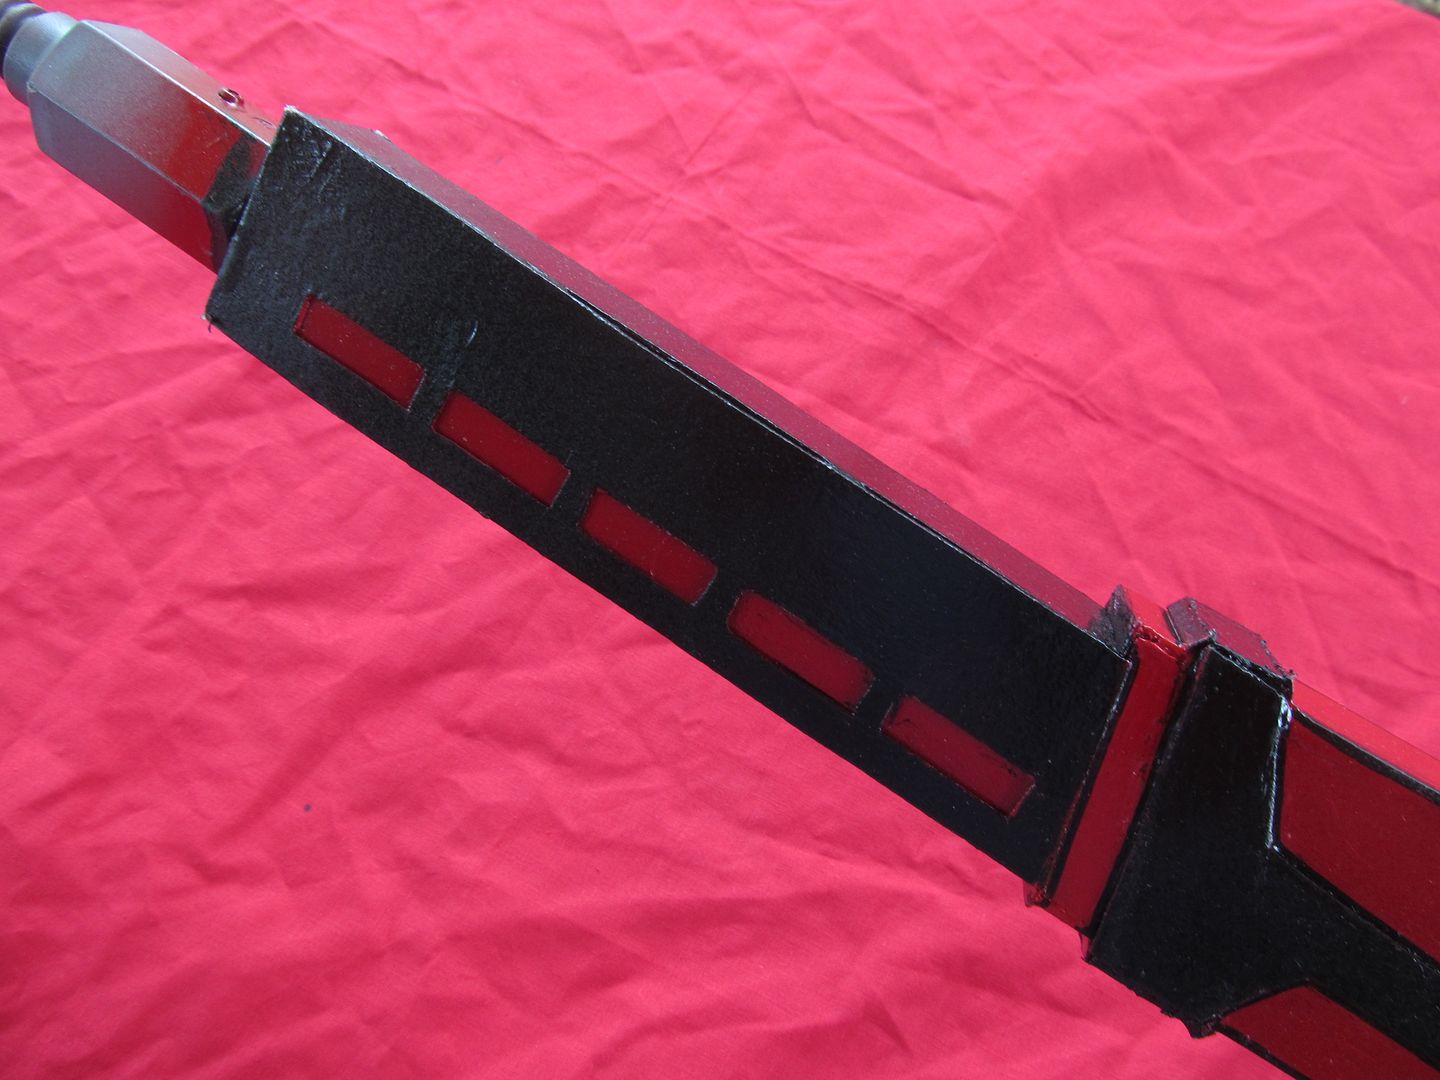
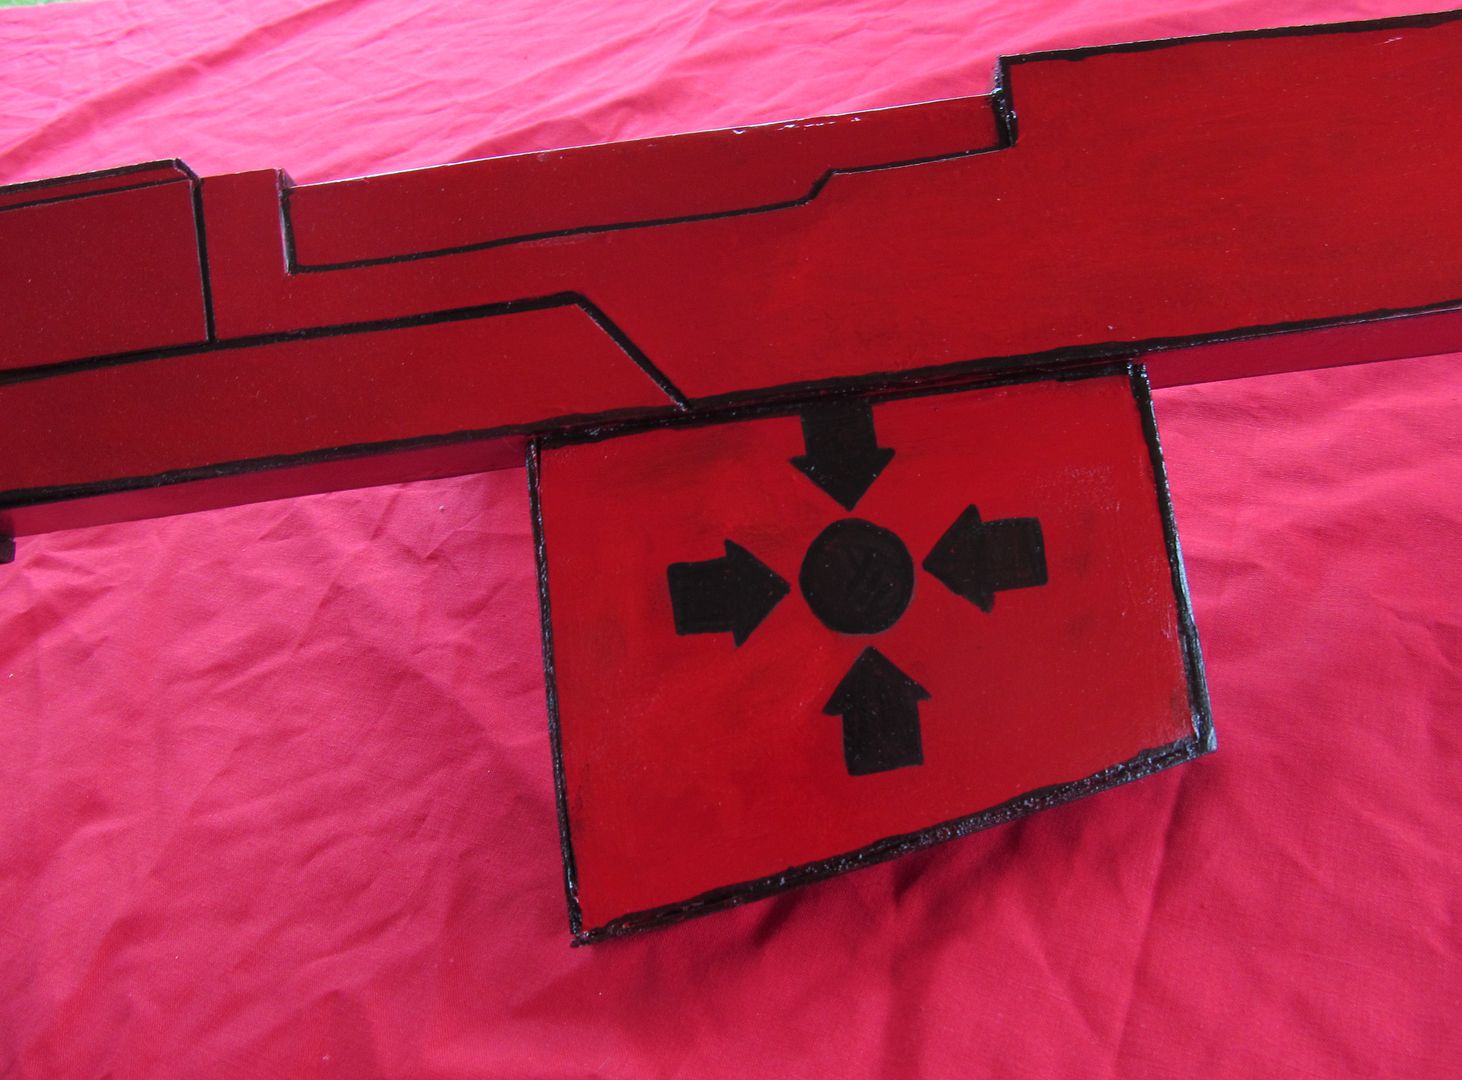
The paint job was done mainly with acrylic paints and a
sharpie to do the edges to help bring out the crisp aesthetic of the scythe;
the emblem on the magazine was drawn using carbon transfer paper then painted
over.

Thanks for reading.